Templates - FastAPI FastAPI framework, high performance, easy to learn, fast to code, ready for production fastapi.tiangolo.com A guide to add Jinja2Templates to fastapi.
Posts tagged: webdev
All posts with the tag "webdev"
214 posts
latest post 2026-07-05
Publishing rhythm
</> htmx ~ Documentation htmx gives you access to AJAX, CSS Transitions, WebSockets and Server Sent Events directly in HTML, using attributes, so you can build modern user interfaces with the simplicity and power of hypert... htmx.org A complete reference of all of the htmx swapping methods.
External Link stackoverflow.com I am trying to use htmx on a new fastapi site for my thoughts, and have been hitting this error. What is happening # I have an htmx component that gets the current users name, but if they are not logged in the backend redirects to a login form. But for some reason when the front end gets this redirect, it tries to do it through http, and flags it as insecure. The solution # To solve this issue, the post directs to set the to ‘*’
External Link htmx.org Using templates with htmx requires the client-side-templates extension, and the template engine to be loaded in a tag. example htmx using templates.
Static Files - FastAPI FastAPI framework, high performance, easy to learn, fast to code, ready for production fastapi.tiangolo.com Mounting static files in fastapi.
#javascript" playlabel="Play: HTMX looks pretty neat #coding #javascript "> Love the poling example with hx-trigger=‘every 1s’.
First-class session support in FastAPI · Issue #754 · fastapi/fastapi Is your feature request related to a problem All of the security schemas currently supported by FastAPI rely on some sort of "client-server synergy", where, for instance, the client is expected to... GitHub · github.com Here is a snippet provided by @tiangolo to store the users jwt inside of a session cookie in fatapi. This was written in feb 12, 2020 and admits that this is not a well documented part of fastapi. It’s already in place. More or less like the rest of the security tools. And it’s compatible with the rest of the parts, integrated with OpenAPI (as possible), but probably most importantly, with dependencies. It’s just not properly documented yet. 😞 But still, it works 🚀 e.g.
A nice codepen reference for dark forms. I am using it for my thoughts chrome extension.
Filter Data - WHERE - SQLModel SQLModel, SQL databases in Python, designed for simplicity, compatibility, and robustness. sqlmodel.tiangolo.com When fetching pydantic models from the database with sqlmodel, and you cannot select your item by id, you probably need to use a where clause. This is the sqlmodel way of doing it. Here is a snippet of how I am using sqlmodel select and where to find a post by link in my thoughts database.
URL Decoding query strings or form parameters in Python | URLDecoder URL Decode online. URLDecoder is a simple and easy to use online tool for decoding URL components. Get started by typing or pasting a URL encoded string in the input text area, the tool will automa... urldecoder.io In order to turn url encoded links back into links that I would find in the database of my thoughts project I need to urldecode them when they hit the api. When anything hits the api it must urlencode the links in order for them to be sent correctly as data and not get parsed as part of the url. Here is a snippet of how I am using urlib.parse.unquote to un-encode encoded urls so that I can fetch posts from the database.
encodeURIComponent() - JavaScript | MDN The encodeURIComponent() function encodes a URI by replacing each instance of certain characters by one, two, three, or four escape sequences representing the UTF-8 encoding of the character (will... MDN Web Docs · developer.mozilla.org In order to send data that includes special characters such as in a url you need to url encode it. You have probably seen these many times in urls with things like %20 for spaces. I’m working on a chrome extension to make quick blog posts, like thoughts or a persistent bookmark tool with comments. The backend is written in fastapi and when I check to see if I have a post for a page I need to url encode it. curl example generated from the fastapi swagger docs. Here is how I used javascript’s to turn my chrome extension into a notification when I already have a post for the current page.
@chriscoyier) on X — I was unaware of `text-wrap: pretty;` I knew about the (new/cool) — but sometimes that's a bit… too much. I feel like it's nice on headers but not smaller type. Here's what I mean." loading=“lazy”> Chris Coyier ( @chriscoyier) on X I was unaware of I knew about the (new/cool) — but sometimes that's a bit… too much. I feel like it's nice on headers but not smaller type. Here's w… X (formerly Twitter) · twitter.com Next time I’m working with large headers on small screens I need to try this. I always truggle to get them to look good for most text and overflow ridiculously long words correctly or at all.
npx create-react-app todoreact
import React,{useState,useEffect} from 'react';
import './App.css';

function App() {
  const [data,setData]=useState([]);
  const [newName,setNewName]=useState([]);
  const getData=()=>{
    fetch('/api'
    ,{
      headers : {
        'Content-Type': 'application/json',
        'Accept': 'application/json'
       }
    }
    )
      .then(function(response){
        return response.json();
      })
      .then(function(myJson) {
        setData(myJson)
      });
  }
  useEffect(()=>{
    getData()
  },[])

  const addItem= async () => {
    const rawResponse = await fetch('/api/add/', {
      method: 'POST',
      headers: {
        'Accept': 'application/json',
        'Content-Type': 'application/json'
      },

    body: JSON.stringify({"name": newName})
    });
    const content = await rawResponse;

    console.log(content);
    getData()
  }


  return (
    <div className="App">
     {
       data && data.length>0 && data.map((item)=><p>{item.id}{item.priority}{item.name}<button>raise priority</button></p>)
     }
    <input type='text' value={newName} onChange={(e) => (setNewName(e.target.value))} />
    <button onClick={addItem} >add item</button>
    </div>
  );
}

export default App;
In my adventure to learn django, I want to be able to setup REST api’s to feed into dynamic front end sites. Potentially sites running react under the hood.

Install #
To get started lets open up a todo app that I created with django-admin startproject todo.
pip install djangorestframework
Install APP #
Now we need to declare rest_framwork as an INSTALLED_APP.
INSTALLED_APPS = [
    ...
    "rest_framework",
    ...
]
create the api app #
Next I will create all the files that I need to get the api running.
mkdir api
touch api/__init__.py api/serializers.py api/urls.py api/views.py

base/models.py #
I already have the following model from last time I was playing with django. It will suffice as it is not the focus of what I am learning for now.
Note the name of the model class is singular, this is becuase django will automatically pluralize it in places like the admin panel, and you would end up with Itemss.
from django.db import models

# Create your models here.

class Item(models.Model):
    name = models.CharField(max_length=200)
    created = models.DateTimeField(auto_now_add=True)

    def __str__(self):
        return f"{self.priority} {self.name}"
Next I will make some dummy data to be able to return. I popped open ipython
and made a few records.
from base.models import Item

Item.objects.create(name='first')
Item.objects.create(name='second')
Item.objects.create(name='third')
api/serializers.py #
Next we need to set up a serializer to seriaze and de-serialize data between
our model and json. You can specify each field individually or all of them by
passing in __all__.
from rest_framework import serializers

from base.models import Item


class ItemSerializer(serializers.ModelSerializer):
    class Meta:
        model = Item
        fields = '__all__'
api/views.py #

Now we need a view leveraging the djangorestframework. The serializer we
just created will be used to serialize all of the rows into a list of objects
that Response can handle.
Note: to return a collection of model objects we need to set many to
True
from rest_framework.decorators import api_view
from rest_framework.response import Response

from base.models import Item

from .serializers import ItemSerializer


@api_view(["GET"])
def get_data(request):
    items = Item.objects.all()
    serializer = ItemSerializer(items, many=True)
    return Response(serializer.data)

@api_view(['POST'])
def add_item(request):
    serializer = ItemSerializer(data = request.data)
    if serializer.is_valid():
        serializer.save()
    return Response()
api/urls.py #

Now we need to setup routing to access the views through an url.
from django.urls import path

from . import views

urlpatterns = [
        path('', views.get_data),
        path('add/', views.add_item),
        ]
todo/urls.py #
Then we need to include these urls from our api in the urls specified by settings.ROOT_URLCONf
from django.urls import path

urlpatterns = [
    ...
    path("api/", include("api.urls")),
]
Run it #
python manage.py runserver
Running the developement server and going to localhost:8000/api we can see
the full list of items in th api.
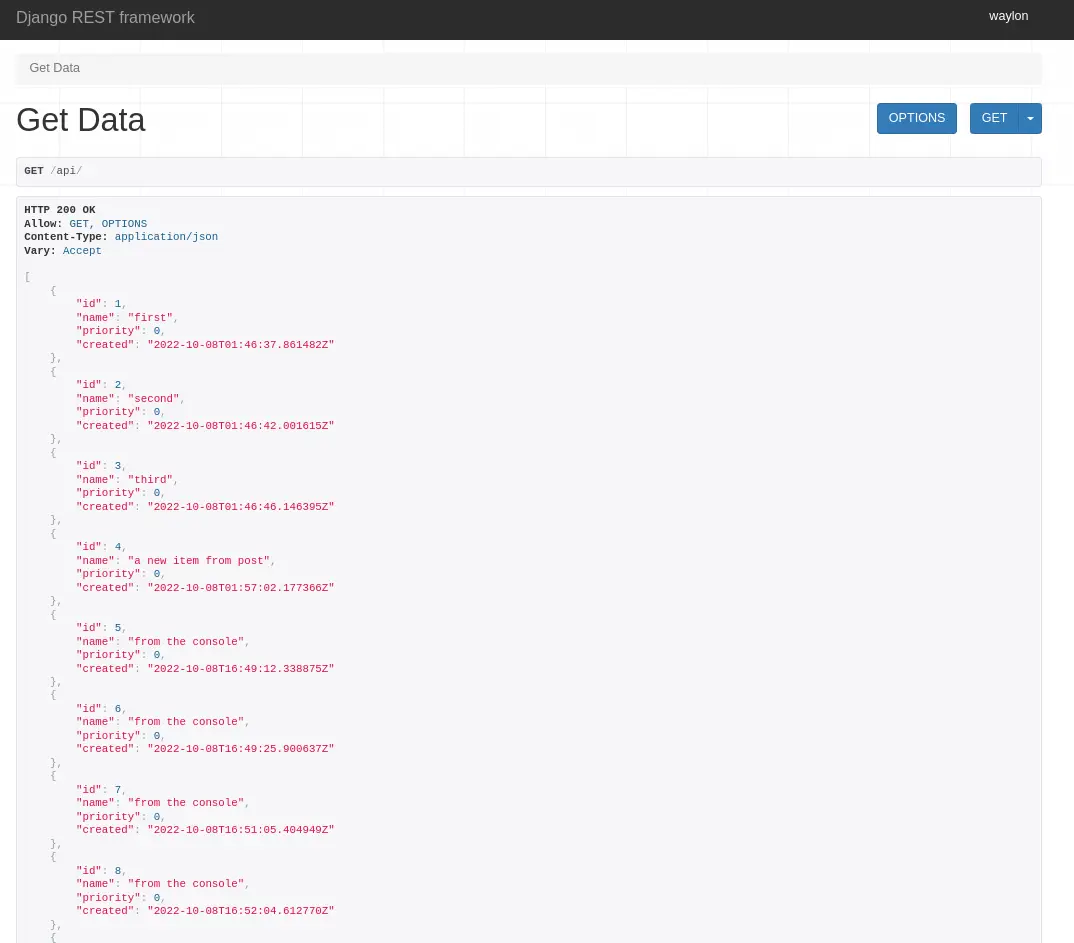
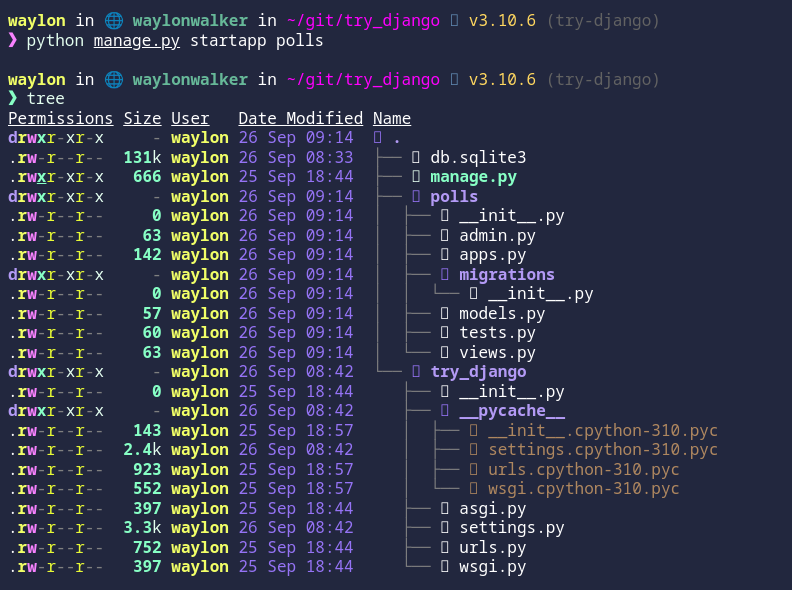
My next step into django made me realize that I do not have access to the admin panel, turns out that I need to create a cuper user first.

Run Migrations #
Right away when trying to setup the superuser I ran into this issue
django.db.utils.OperationalError: no such table: auth_user
Back to the tutorial
tells me that I need to run migrations to setup some tables for the
INSTALLED_APPS, django.contrib.admin being one of them.
python manage.py migrate
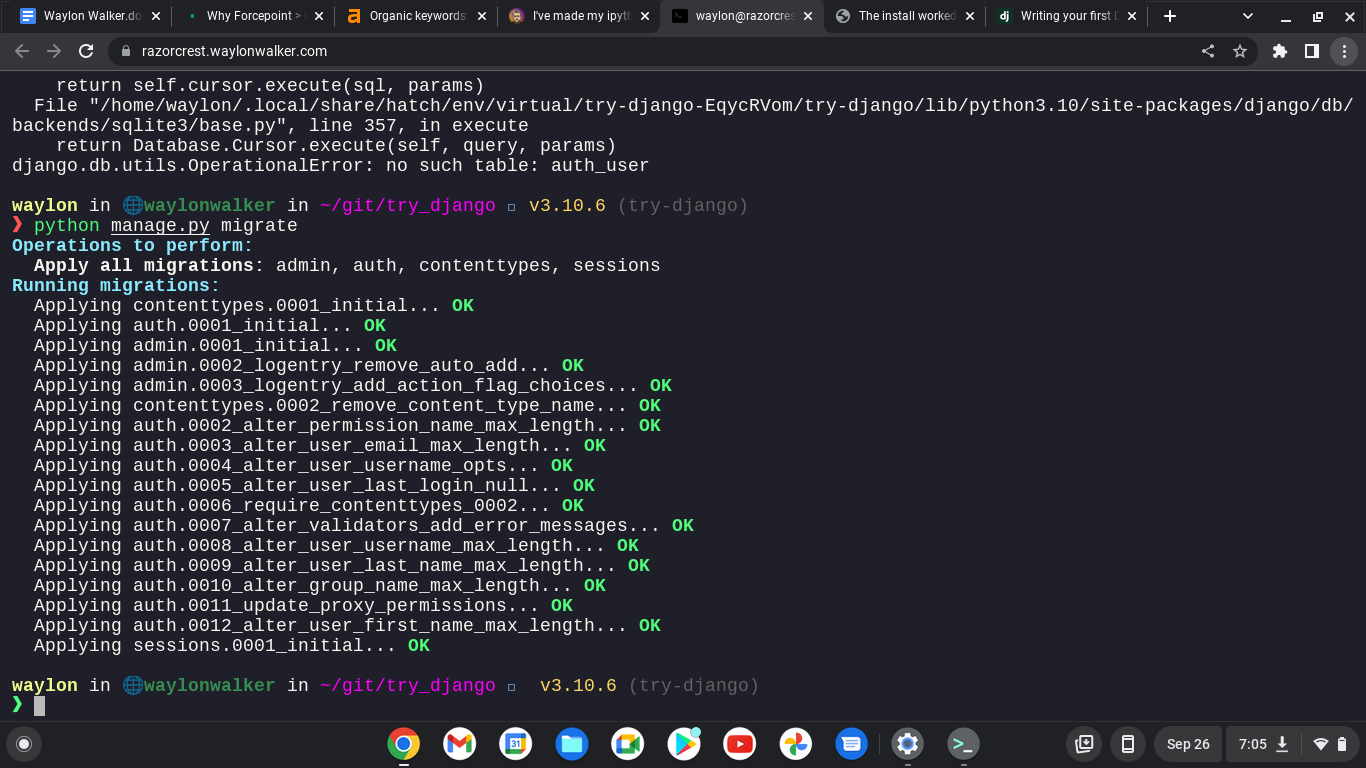
yes I am still running remote on from my chromebook.
python manage.py createsuperuser
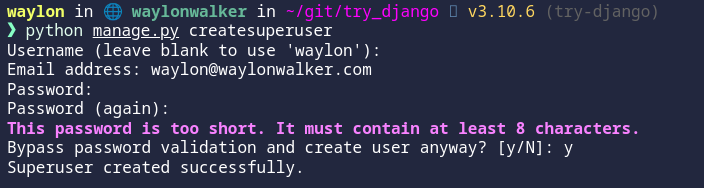
The super user has been created.

CSRF FAILURE #
My next issue trying to run off of a separate domain was a cross site request forgery error.
Since this is a valid domain that we are hosting the app from we need to tell
Django that this is safe. We can do this again in the settings.py, but this
time the variable we need is not there out of the box and we need to add it.
CSRF_TRUSTED_ORIGINS = ['https://localhost.waylonwalker.com']
I made it!! #
And we are in, and welcomed for the first time with this django admin panel.
Remote Hosting #
You might find these settings helpful as well if you are trying to run your site on a remote host like aws, digital ocean, linode, or any sort of cloud providor. I had it running in my home lab while I was out of the house and ssh’d in over with a chromebook.

I am continuing my journey into django, but today I am not at my workstation. I
am ssh’d in remotely from a chromebook. I am fully outside of my network, so I
can’t access it by localhost, or it’s ip. I do have cloudflared tunnel
installed and dns setup to a localhost.waylonwalker.com.
Settings #
I found this in settings.py and yolo, it worked first try. I am in from my
remote location, and even have auth taken care of thanks to cloudflare. I am
really hoping to learn how to setup my own auth with django as this is one of
the things that I could really use in my toolbelt.
ALLOWED_HOSTS = ['localhost.waylonwalker.com']

I have no experience in django, and in my exploration to become a better python developer I am dipping my toe into one of the most polished and widely used web frameworks Django to so that I can better understand it and become a better python developer.
If you found this at all helpful make sure you check out the django tutorial

install django #
The first thing I need to do is render out a template to start the project.
For this I need the django-admin cli. To get this I am going the route of
pipx it will be installed globally on my system in it’s own virtual
environment that I don’t have to manage. This will be useful only for using
startproject as far as I know.
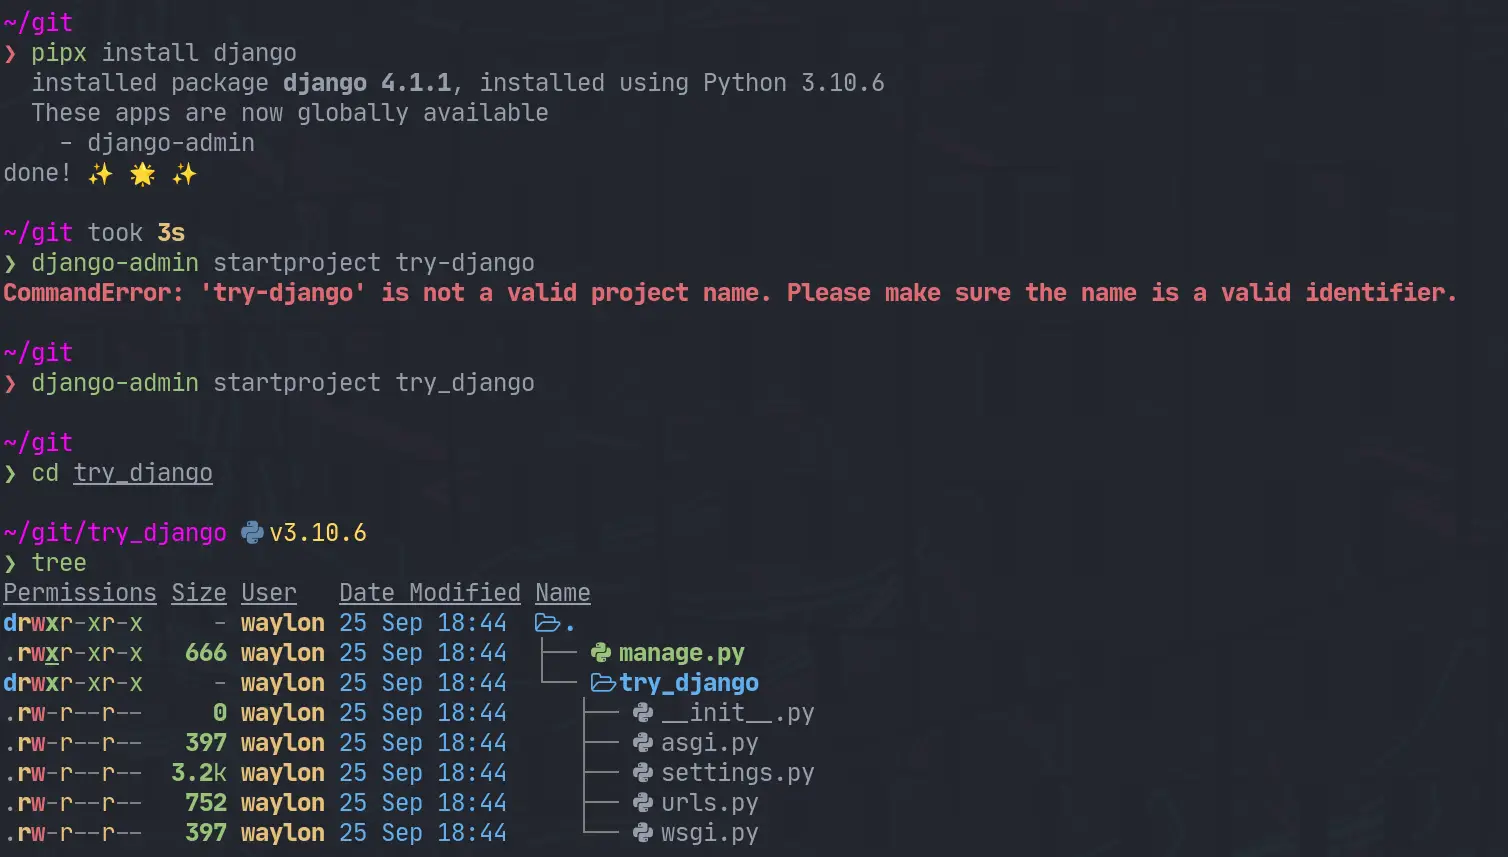
pipx install django
django-admin startproject try_django
cd try_django
Make a venv #
Once I have the project I need a venv for all of django and all of my
dependencies I might need for the project. I have really been diggin hatch
lately, and it has a one line “make a virtual environment and manage it for
me” command.
hatch shell
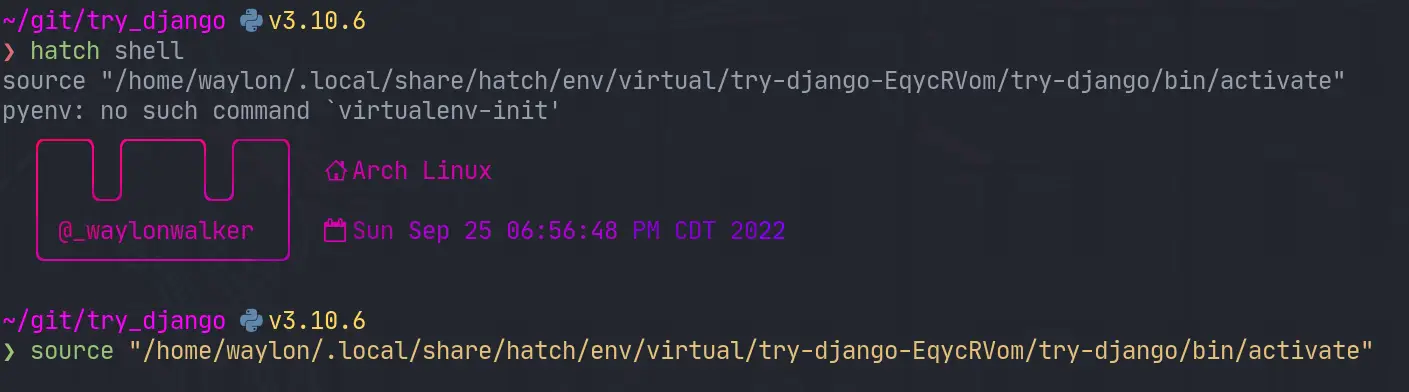
If hatch is a bit bleeding edge for you, or it has died out by the time you read this. The ol trusty venv will likely stand the test of time, this is what I would use for that.
python -m .venv --prmpt `basename $PWD`
. ./.venv/bin/activate
Start the webserver #
Next up we need to start the webserver to start seeing that development content. The first thing I did was run it as stated in the tutorial and find it clashed with a currently running web server port.
python manage.py runserver
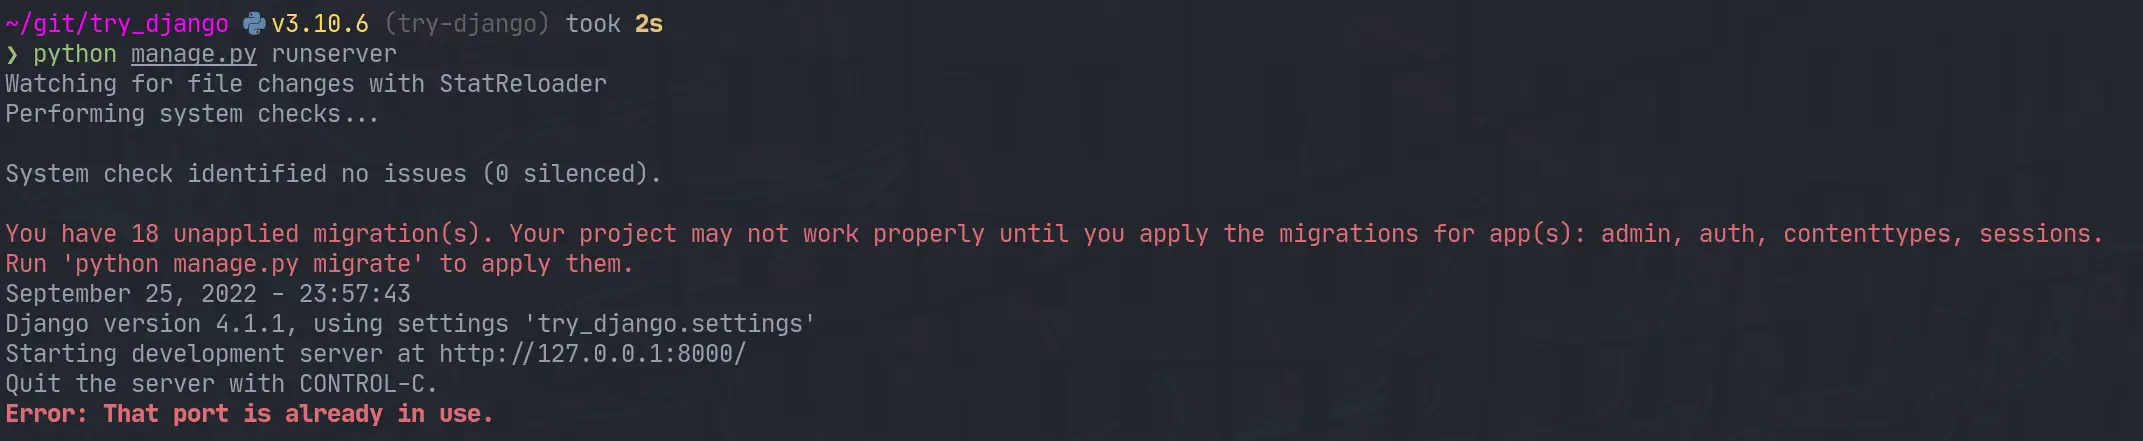
I jumped over to that tmux session, killed the process and I was up and running.

What’s running #
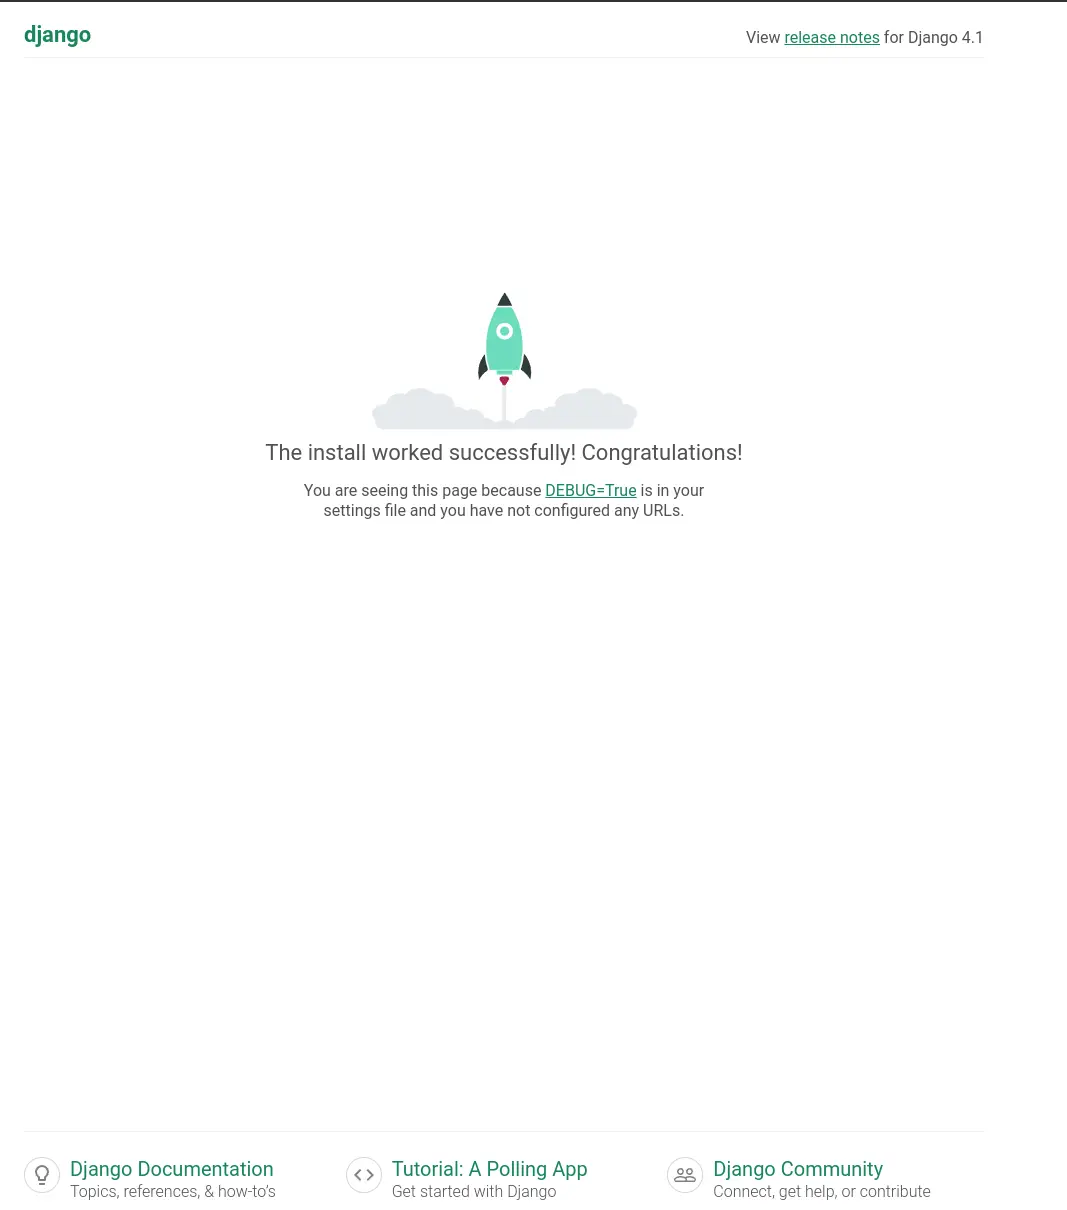
The default django hello world looks well designed. You are first presented with this page.
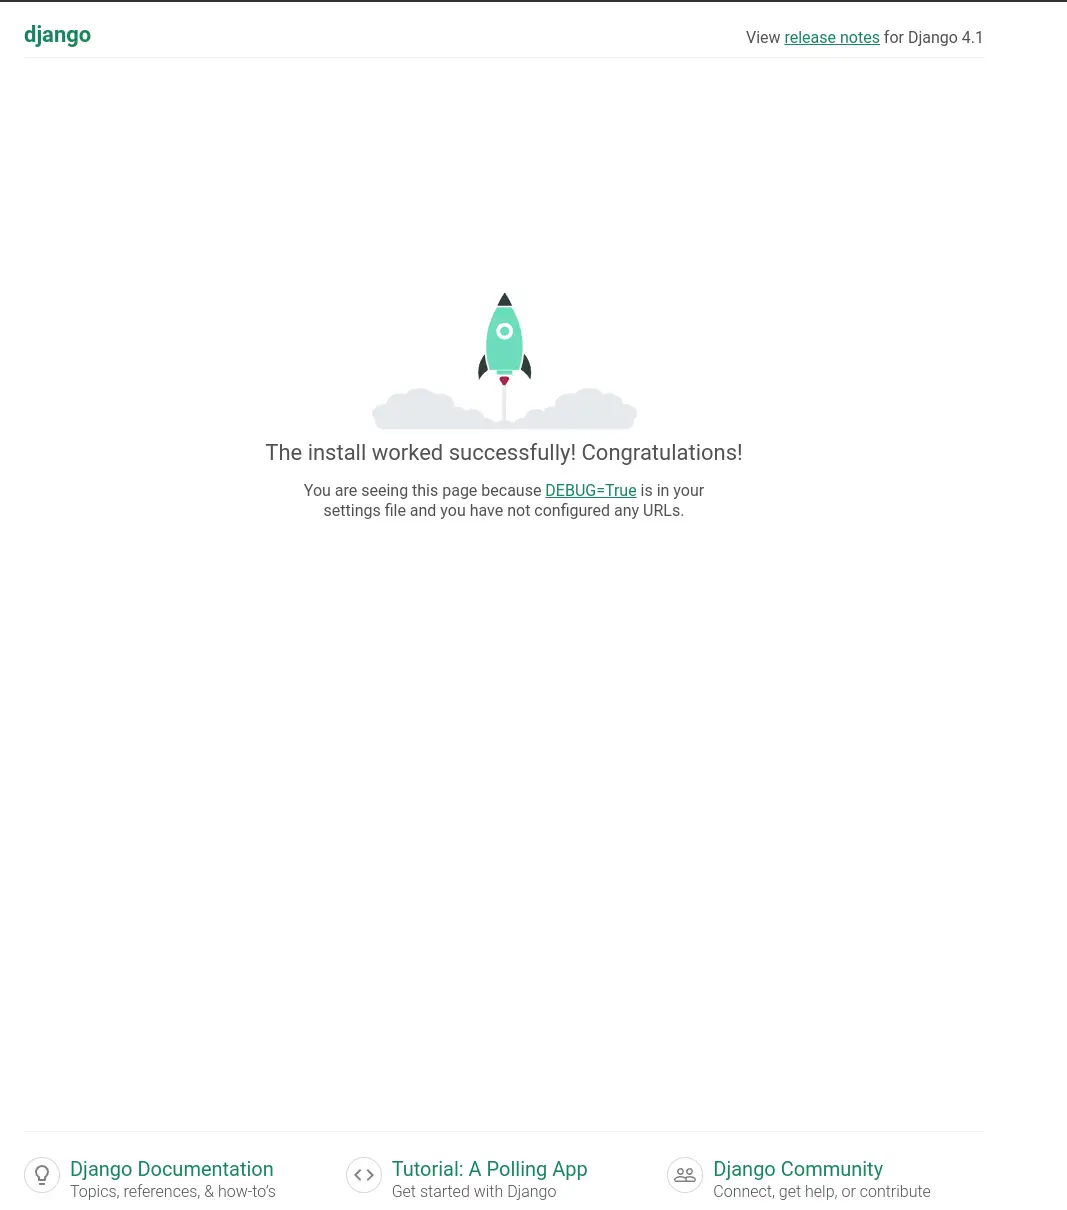
Next #
I opened up the urls.py to discover that the only configured url was at
/admin. I tried to log in as admin, but was unable to as I have not yet
created a superuser. Next time I play with django that is what I will explore.

I recently attended python web conf 2022 and after seeing some incredible presentations on it I am excited to give htmx a try.
The base page #
Start with some html boilerplate, pop in a script tag to add the htmx.org script, and a button that says click me. I added just a tish of style so that it does not sear your delicate developer your eyes.
<!DOCTYPE html>
<html lang="en">
  <head>
    <title></title>
    <meta charset="UTF-8">
    <meta name="viewport" content="width=device-width, initial-scale=1">
    <style>
      html  { background: #1f2022; color: #eefbfe; font-size: 64px; }
      button {font-size: 64px;}
      body { height: 100vh; width: 100vw; display: flex; justify-content: center; align-items:center; }
    </style>
    <!-- Load from unpkg -->
    <script src="https://unpkg.com/[email protected]"></script>
  </head>
  <body>
  <!-- have a button POST a click via AJAX -->
  <button hx-get="/partial" hx-swap="outerHTML">
    Click Me
  </button>

  </body>
</html>
Save this as index.html and fire up a webserver and you will be
presented with this big beefcake of a button.

If you don’t have a development server preference I reccomend opening
the terminal and running python -m http.server 8000 then opening your
browser to localhost:8000
The Partial #
Now the page has a button that is ready to replace itself, notice the
hx-swap="outerHTML">, with the contents of /partial. To create a
static api of sorts we can simply host a partial page in a file at
/partial/index.html with the following contents.
<p>
hello
</p>

Tree #
To make it a bit clearer here is what the file tree looks like after setting this up.
~/git/htmx v3.9.7 (git)
❯ tree
.
├── clicked
│ └── index.html
└── index.html
Demo #
I added htmx to this page and setup a partial below, check out this easter egg.
Links #


Let’s make a vim command to automatically collect all the links in these posts at the end of each article. Regex confuses the heck out of me… I don’t have my regex liscense, but regex can be so darn powerful especially in an editor.
Step one #
Before you run someone’s regex from the internet that you don’t fully
understand, check your git status and make sure you are all clear with
git before you wreck something
Inspiration #
Something that I have always appreciated form Nick Janetakis is his links section. I often try to gather up the links at the end of my posts, but often end up not doing it or forgetting.
Making a Links section #
Searchng through the internet I was able to find an article from Vitaly Parnas called vim ref links that did almost exactly what I needed, except it was more complicated and made them into ref liks.
Here is my interpretation of the code I took from Vitaly’s post. It makes a Links section like the one at the bottom of this post.
function! MdLinks()
    $norm o## Links
    $norm o
    g/\[[^\]]\+\]([^)]\+)/t$
    silent! '^,$s/\v[^\[]*(\[[^\]]+\])\(([^)]+)\)[^\[]*/* \1(\2)/g
    nohl
endfunction
command! MdLinks call MdLinks()
So far it is working for me and saving me a few seconds off each post I make.