The easiest way to speed up any code is to run less code. A common technique
to reduce the amount of repative work is to implement a cache such that the
next time you need the same work done, you don’t need to recompute anything you
can simply retrieve it from a cache.
lru_cache # [1]
The easiest and most common to setup in python is a builtin functools.lru_cache.
from functools import lru_cache
@lru_cache
def get_cars():
print('pulling cars data')
return pd.read_csv("https://waylonwalker.com/cars.csv", storage_options = {'User-Agent': 'Mozilla/5.0'})
when to use lru_cache # [2]
Any time you have a function where you expect the same results each time a
function is called with the same inputs, you can use lru_cache.
when same *args, **kwargs always return the same value
lru_cache only works for one python process. If you are running multiple
subprocesses, or running the same script over and over, lru_cache will not
work.
lru_cache only caches in a single python process
max_size # [3]
lru_cache can take an optional parameter maxsize to set the size of your
cache. By default its set to 128, if you want to store more or less items in
your cache you can adjust this value....
Posts tagged: python
All posts with the tag "python"
312 posts
latest post 2026-05-06
Publishing rhythm
I keep a small cars.csv [1] on my website for
quickly trying out different pandas operations. It’s very handy to keep around
to help what a method you are unfamiliar with does, or give a teammate an
example they can replicate.
Hosts switched # [2]
I recently switched hosting from netlify over to cloudflare. Well cloudflare
does some work to block certain requests that it does not think is a real user.
One of these checks is to ensure there is a real user agent on the request.
Not my go to dataset 😭 # [3]
This breaks my go to example dataset.
pd.read_csv("https://waylonwalker.com/cars.csv")
# HTTPError: HTTP Error 403: Forbidden
But requests works??? # [4]
What’s weird is, requests still works just fine! Not sure why using urllib the
way pandas does breaks the request, but it does.
requests.get("https://waylonwalker.com/cars.csv")
<Response [200]>
Setting the User Agent in pandas.read_csv # [5]
this fixed the issue for me!
After a bit of googling I realize that this is a common thing, and that setting
the user-agent fixes it. This is the point I remember seeing in the cloudflare
dashbard that they protect against a lot of different attacks, aparantly it
treats pd.read_...
Python’s requests library is one of the gold standard apis, designed by Kenneth
Reitz. It was designed with the user perspective in mind first and
implementation second. I have heard this called readme driven development,
where the interface the user will use is laid out first, then implemented.
This makes the library much mor intuitive than if it were designed around how
it was easiest to implement.
Install Requests # [1]
Requests is on pypi and can be installed into your virtual environtment with pip.
python -m pip install requests
Getting the content of a request # [2]
Requests makes getting content from a web url as easy as possible.
import requests
r = requests.get('https://waylonwalker.com/til/htmx-get/')
article = r.content
requests is not limited to html # [4]
Requests can handle any web request and is not limited to only html. Here are
some examples to get a markdown file, a csv, and a png image.
htmx_get_md = requests.get('https://waylonwalker.com/til/htmx-get.md').content
cars = requests.get('https://waylonwalker.com/cars.csv').content
profile = requests.get('https://images.waylonwalker.com/8bitc.png').content
RTFM # [5]
There is way more to requests, this ju...
I recently gave a talk at python web conf 2022, and one of the things I did
when I should have been working on my presentation was workig on how my
presentation looked… classic procrastination technique.
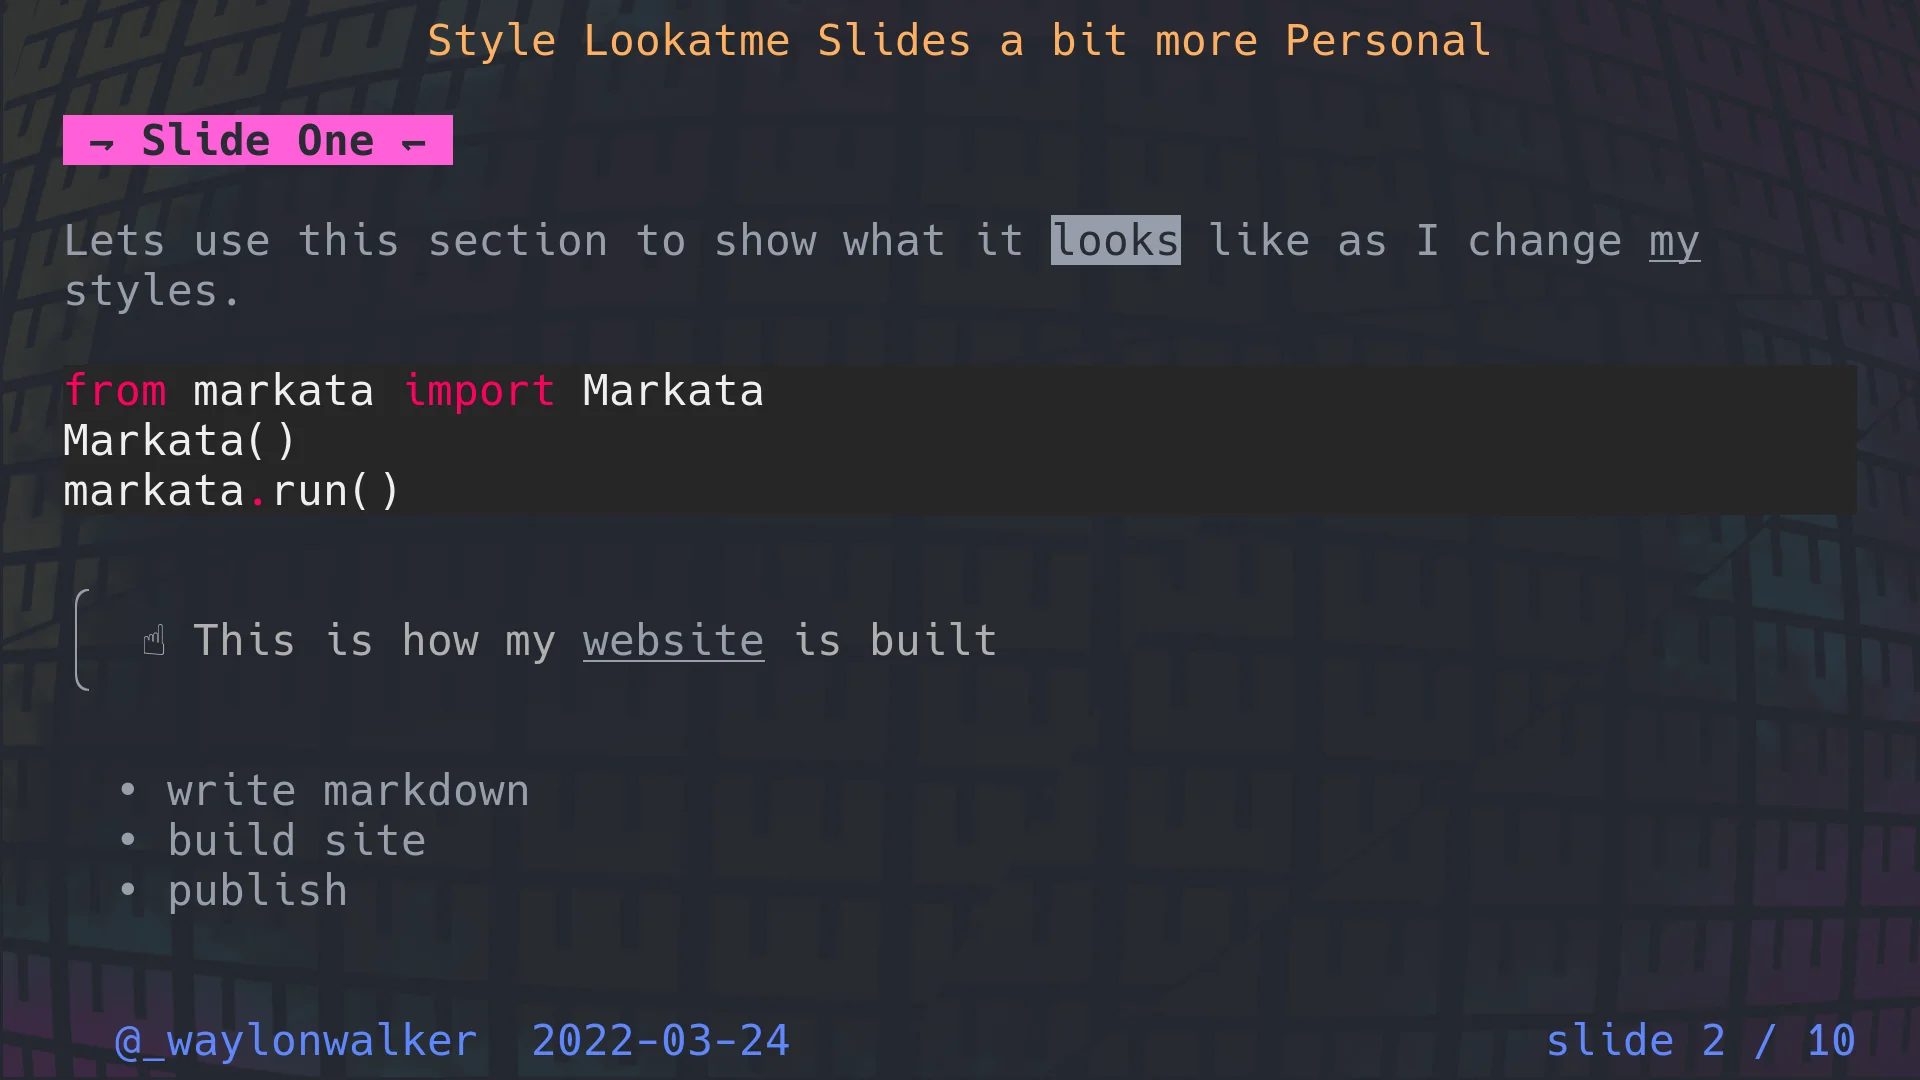
Slide One # [1]
Lets use this section to show what it looks like as I change my styles.
from markata import Markata
Markata()
markata.run()
☝ This is how my website is built
- write markdown
- build site
- publish
default # [2]
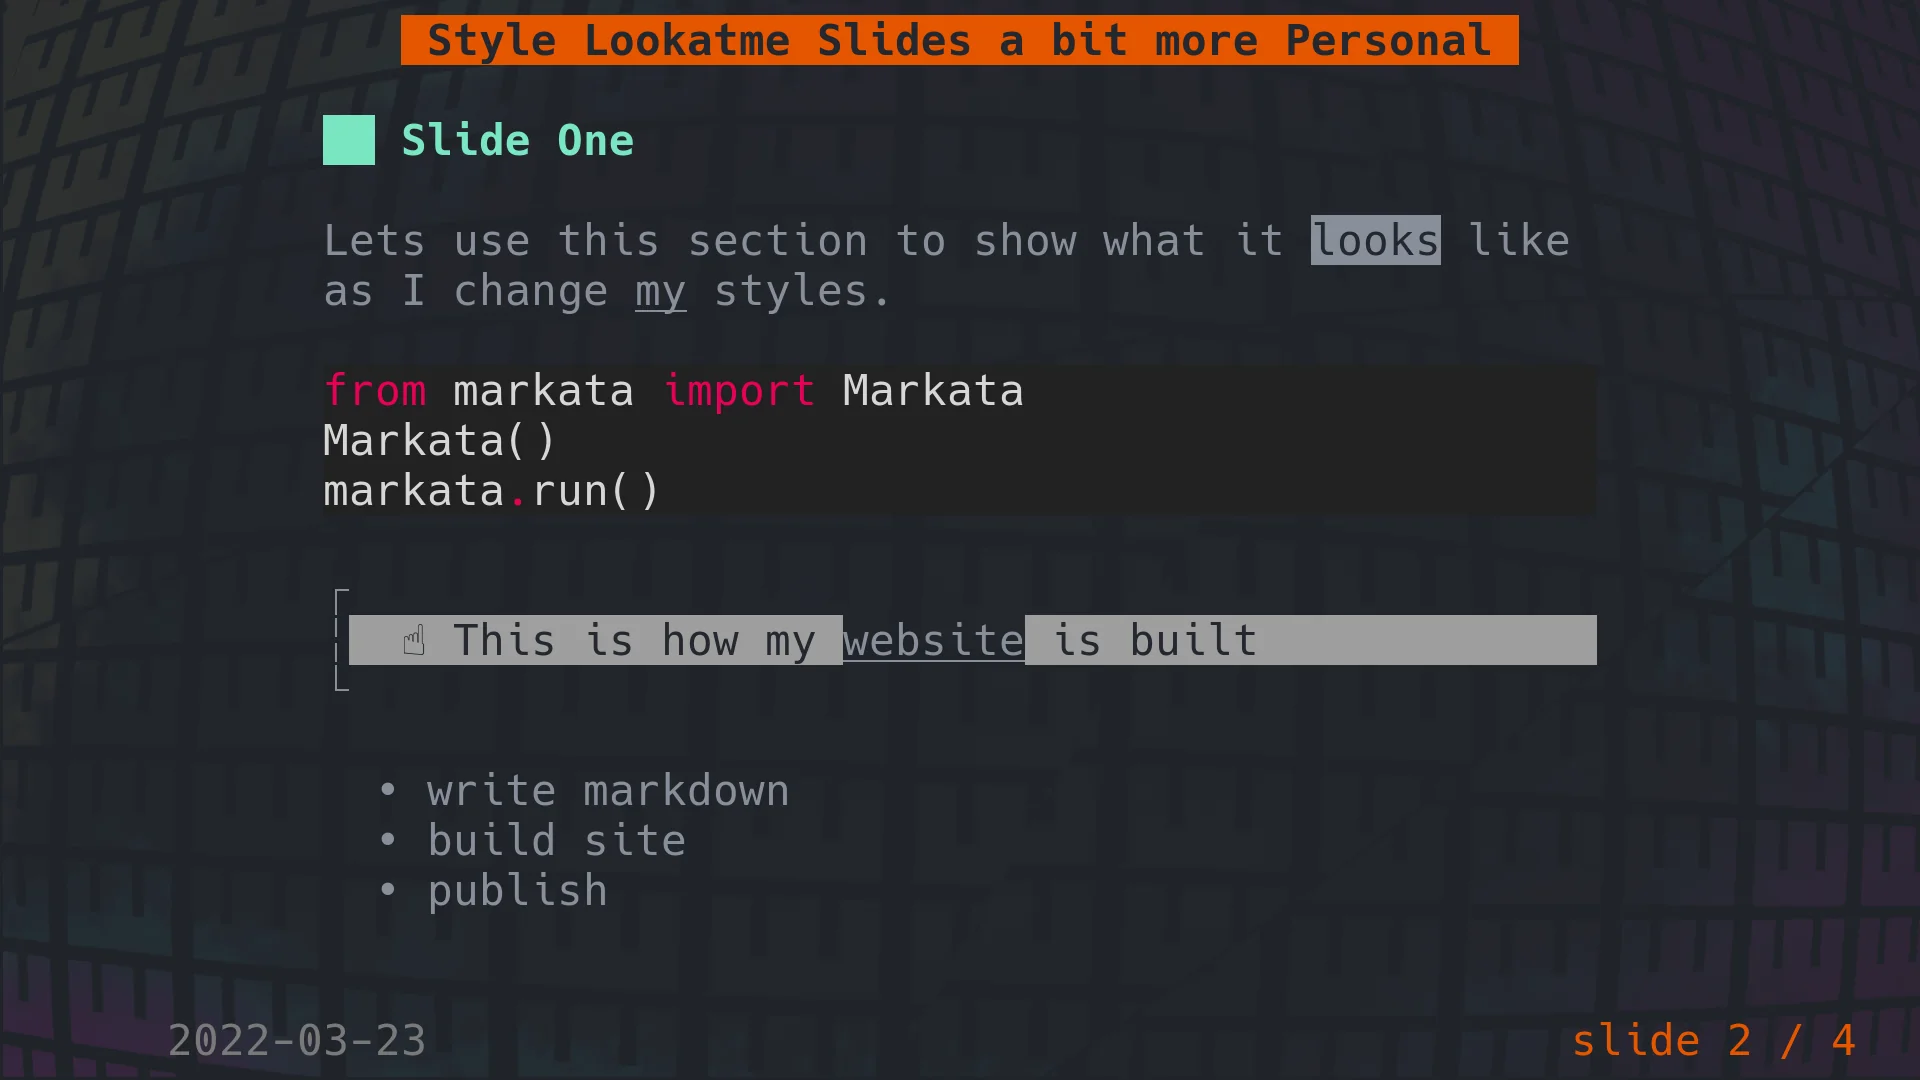
This is what the above slide looks like in lookatme.
[3]
Set focus to the most important element # [4]
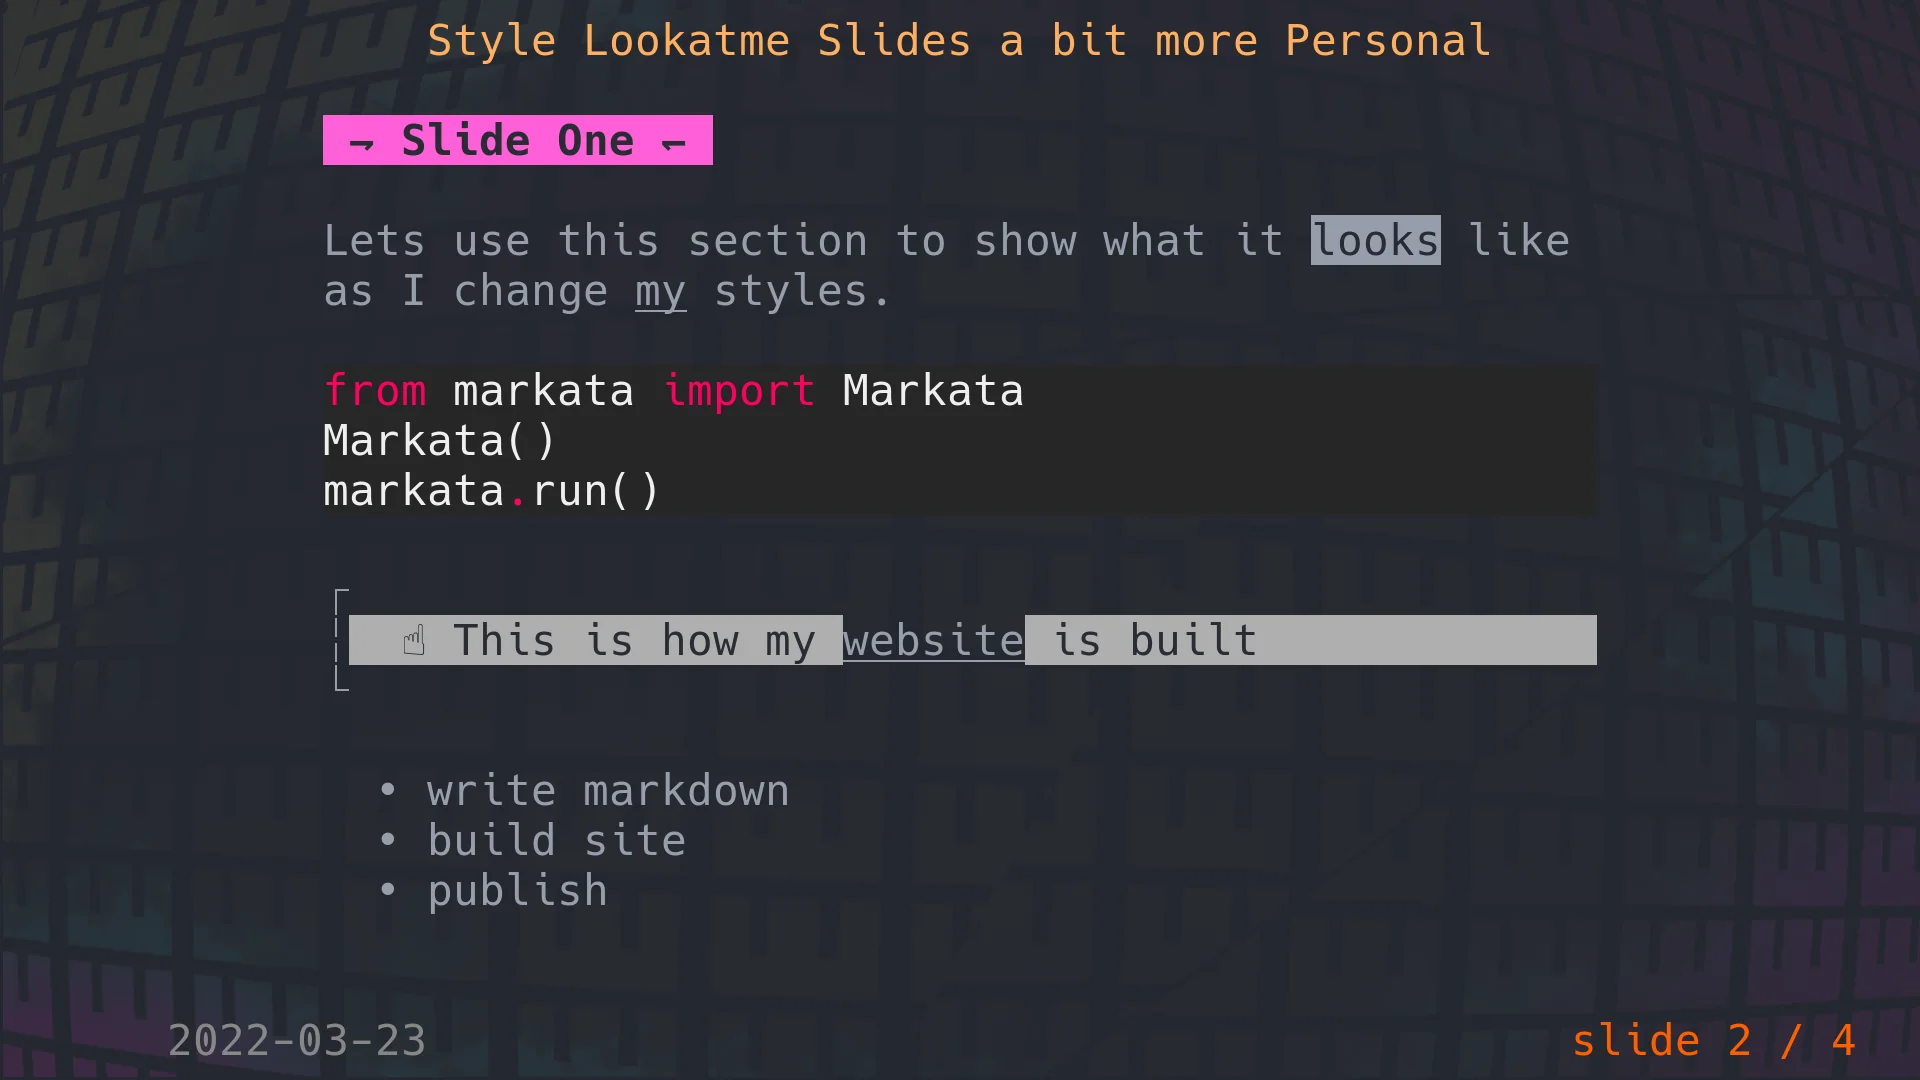
The way I write my slides I want the most prominant element to be the slides
title, not the presentation title. The slides title is generally the point I
am trying to make, I will leave some supporting information if I want, but
sometimes, I just have a title.
styles:
title:
bg: default
fg: '#e1af66'
headings:
'1':
bg: default
fg: '#ff66c4,bold,italics'
prefix: ' ⇁ '
suffix: ' ↽ '
[5]
by default he prefix/suffix was a full block that just went transparant into
the slide. I thought the harpoons were fun and went with them on a whim
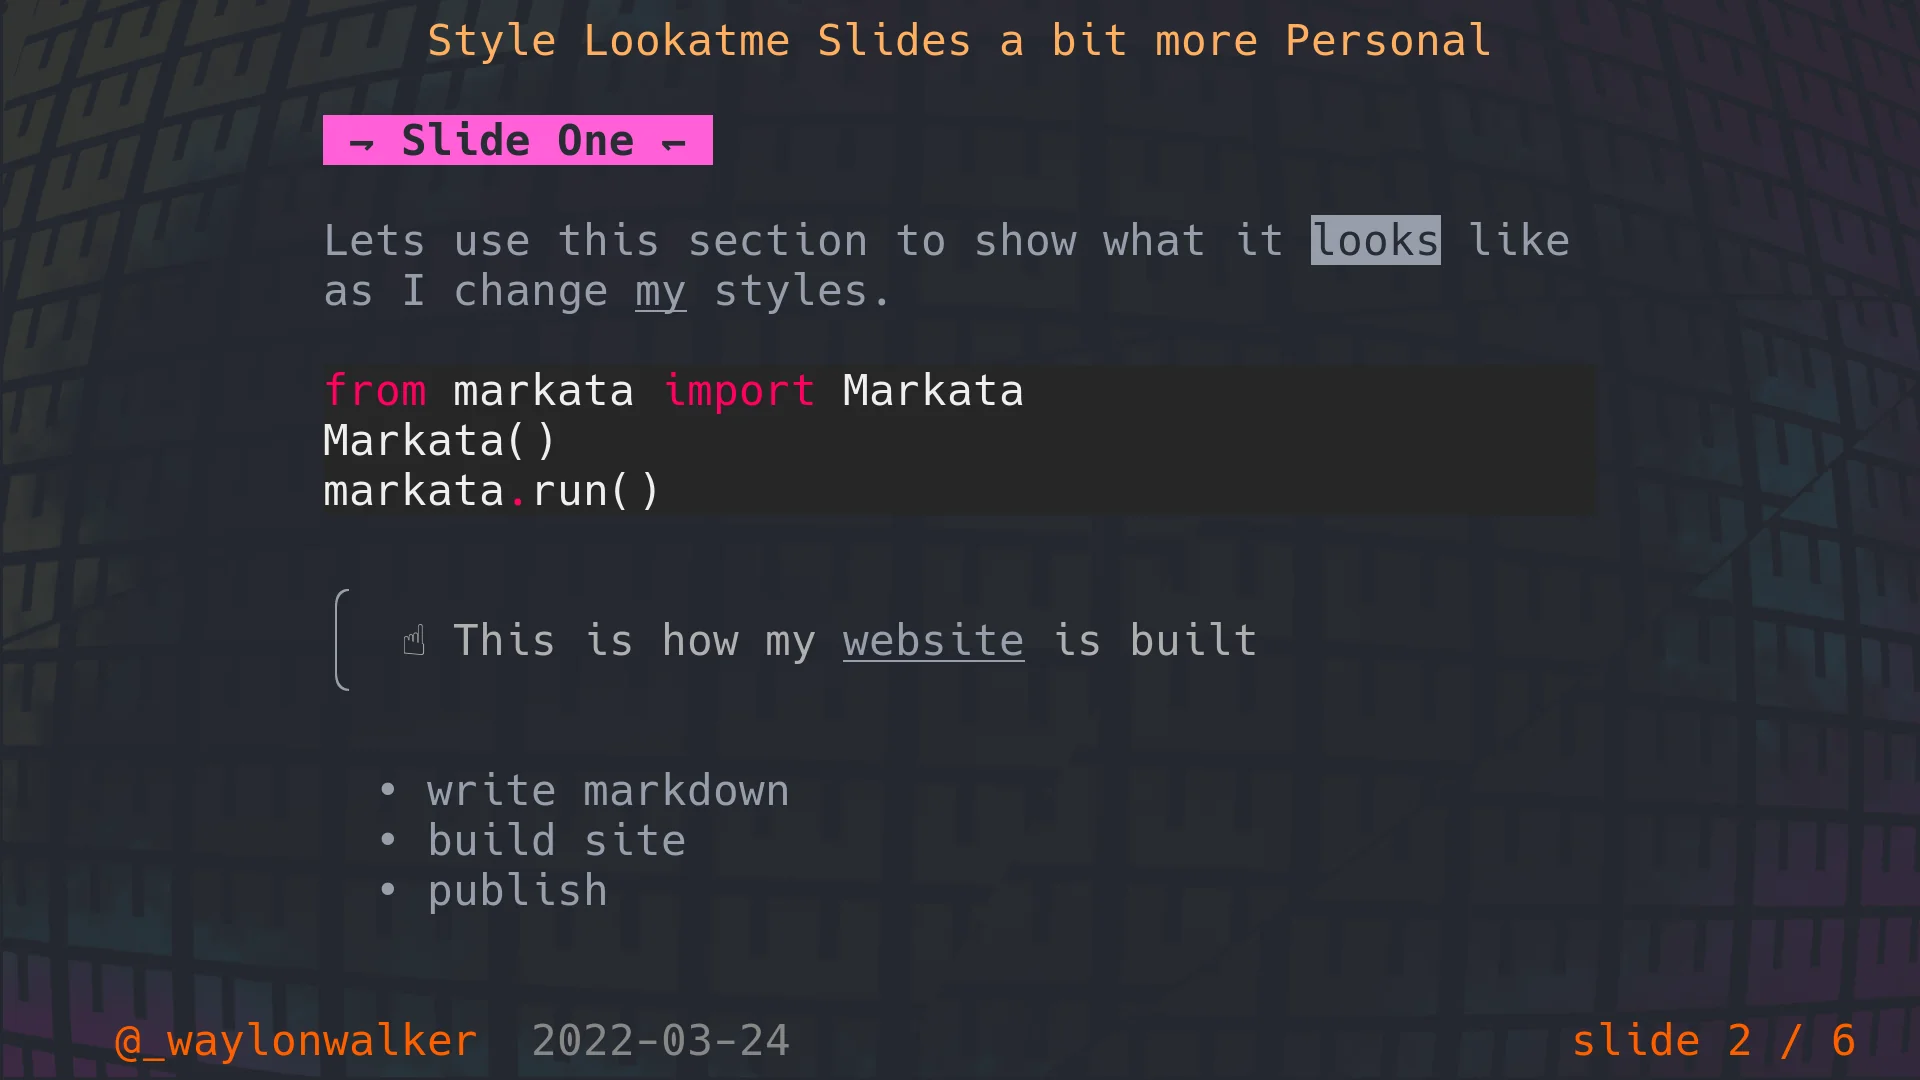
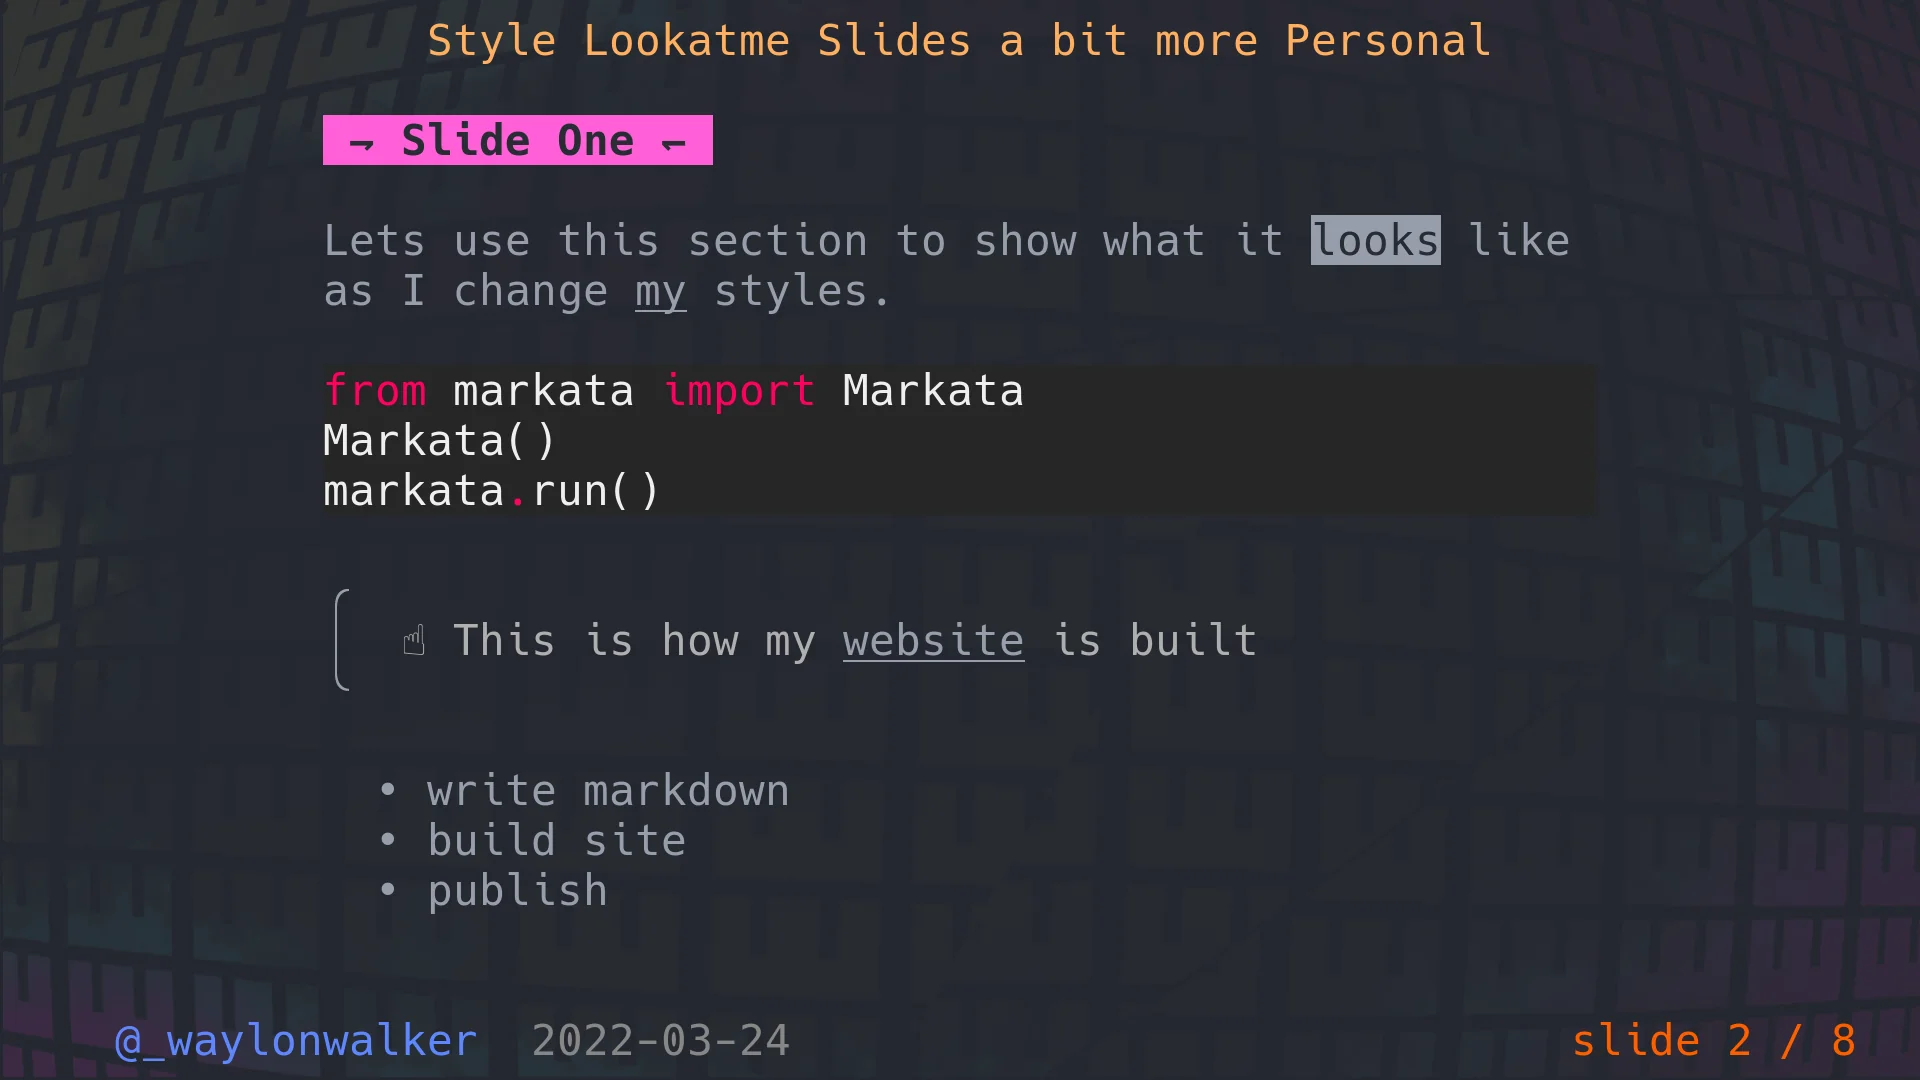
The box characters bother me # [6]
The box characters are fine really, but it really bothers me th...
I use a package
eyeseast/python-frontmatter [1]{.hoverlink}
to load files with frontmatter in them. Its a handy package that allows you to
load files with structured frontmatter (yaml, json, or toml).
Install # [2]
It’s on pypi, so you can install it into your virtual environment [3] with pip.
python -m pip install python-frontmatter
🙋 What’s Frontmatter # [4]
Frontmatter is a handy way to add metadata to your plain text files. It’s
quite common to have yaml frontmatter in markdown. All of my blog posts have
yaml frontmatter to give the post metadata such as post date, tags, title, and
template. dev.to is a popular developer blogging platform that also builds all
of its posts with markdown and yaml frontmatter.
Let’s see an example # [5]
Here is the exact frontmatter for this post you are reading on my site.
---
date: 2022-03-24 03:18:48.631729
templateKey: til
title: How I load Markdown in Python
tags:
- linux
- python
---
This is where the markdown content for the post goes.
So it’s yaml # [6]
yaml is the most commmon, but
python-frontmatter [7]{.hoverlink}
also supports
Handlers [8]{.hoverlink}
for toml and json.
If you want a good set of examples of yaml
learnxi...
Today I was watching the python web conf 2022 and saw
@davidbujic [1] use the new Dict Union Operator
Live on stage during his Functional
Programming [2]
talk. This operator was first introduced into python 3.9 with pep584 [3].
Merge Dicts # [4]
I’ve long updated dicts through the use of unpacking. Note that the last item
always wins. It makes it pretty easy to make user overrides to default
configurations. With pep584 landing in python 3.9 we can now leverage the |
operator to achieve the same result.
default_config = {'url': 'https://example.com', 'assets_dir': 'static' }
user_config = {'url': 'https://waylonwalker.com'}
# **unpacking goes back much further than 3.9
config = {**default_config, **user_config}
print(config)
# {'url': 'https://waylonwalker.com', 'assets_dir': 'static'}
# the same can be achieved through the new to python 3.9 | operator
config = default_config | user_config
print(config)
# {'url': 'https://waylonwalker.com', 'assets_dir': 'static'}
understanding python *args and **kwargs [5]
More on unpacking in this post.
Update Dicts # [6]
With the release there is also a new update syntax |= that you can use to
update. I dont often mutate variables fo...
I love the freedom of writing in markdown. It allows me to write content from
the comfort of my editor with very little focus on page style. It turns out
that markdown is also a fantastic tool for creating slides.
Present from the terminal # [1]
I will most often just present right from the terminal using
lookatme [2]. Presenting
from the terminal lets me see the results quick right from where I am editing.
It also allows me to pop into other terminal applications quickly.
reveal.js # [3]
I sometimes also use reveal.js, but that’s for another post. It is handy that
it lives in the browser and is easier to share.
New Slides # [4]
I leverage auto slides when I write my slides in markdown. The largest
heading, usually an h2 for me, becomes the new slide marker. Otherwise my
process is not much different, It just becomes a shorter writing style.
Installation # [5]
lookatme is a python library that is available on pypi, you can install it with
the pip command.
python -m pip install lookatme
Since it’s a command line application it works great with pipx. This prevents
the need to manage virtual environments yourself or ending up with packages
clashing in your system python e...
When I need to read contents from a plain text file in python I find the
easiest way is to just use Pathlib.
from pathlib import Path
Path('path_to_file').read_text()
A very common task for any script is to look for files on the system. My go to
method when globbing for files in python is to use pathlib.
Setup # [1]
I setup a directory to make some examples about globbing. Here is what the
directory looks like.
❯ tree .
.
├── content
│ ├── hello.md
│ ├── hello.py
│ ├── me.md
│ └── you.md
├── readme.md
├── README.md
├── READMES.md
└── setup.py
1 directory, 8 files
Pathlib # [2]
Pathlib is a standard library module available in all LTS versions of python at
this point.
❯ from pathlib import Path
Creating a Path instance.
# current working directory
Path()
Path.cwd()
# The users home directory
Path.home()
# Path to a directory by string
Path('/path/to/directory')
# The users ~/.config directory
Path.home() / '.config'
Globbing Examples # [3]
The path object has a glob method that allows you to glob for files with a unix
style glob pattern to search for files. Note that it gives you a generator.
This is great for many use cases, but for examples its easier to turn them to a
list to print them out.
If you need some more detail on what globbing is there is a
wikipedia [4] article
discussing it. I am just showing how to glob with pathlib...
Last Thursday I learned about pytest-mock at a local python meetup. The
presenter showed how he uses pytest-mock for his work, and it was kinda eye
opening. I knew what mocking was, but I had not seen it in this context.
Discovery # [1]
Watching him use pytest-mock I realized that mocking was not as hard as I had
made it out to be. You can install pytest-mock, use the mocker fixture, and
patch objects methods with what you want them to be.
install # [2]
pytest-mock is out on pypi and can be installed with pip.
python -m pip install pytest-mock
What I actually did # [3]
Sometimes I fall victim to making these posts nice and easy to follow. It
takes more steps than just pip install, you need a place to practice in a nice
sandbox. Here is how I make my sandboxes.
mkdir ~/git/learn-pytest-mock
cd ~/git/learn-pytest-mock
# well actually open a new tmux session there
echo pytest-mock > requirements.txt
# I copied in my .envrc, and ran direnv allow, which actually just made me a virtual env as follows
python3 -m venv .venv --prompt $(basename $PWD)
source .venv/bin/activate
# now install pytest-mock
pip install -r requirements.txt
# make some tests to mock
mkdir tests
nvim t...
Python 3.8 came out two and a half years ago and I have yet to really lean in
on the walrus operator. Partly because it always seemed like something kinda
silly (my use cases) to require a python version bump for, and partly because I
really didn’t understand it the best. Primarily I have wanted to use it in
comprehensions, but I did not really understand how.
Now that Python 3.6 is end of life, and most folks are using at least 3.8 it
seems time to learn and use it.
What’s a Walrus # [1]
:=
The assignment operator in python is more commonly referred to as the walrus
operator due to how := looks like a walrus. It allows you to assign and use
a variable in a single expression.
This example from the docs avoids a second call to the len function.
if (n := len(a)) > 10:
print(f"List is too long ({n} elements, expected <= 10)")
Let’s get some data # [2]
without a walrus
In this example we are going to do a dict comp to generate a map of content
from urls, only if their status code is 200. When doing this in a dictionary
comprehension we end up needing to hit the url twice for successful urls. Once
for the filter and once for the data going into the dictionary.
{
url: reque...
Kedro rich is a very new and unstable (it’s good, just not ready) plugin for
kedro to make the command line prettier.
Install kedro rich # [1]
There is no pypi package yet, but it’s on github. You can pip install it with
the git [2] url.
pip install git+https://github.com/datajoely/kedro-rich
Kedro run # [3]
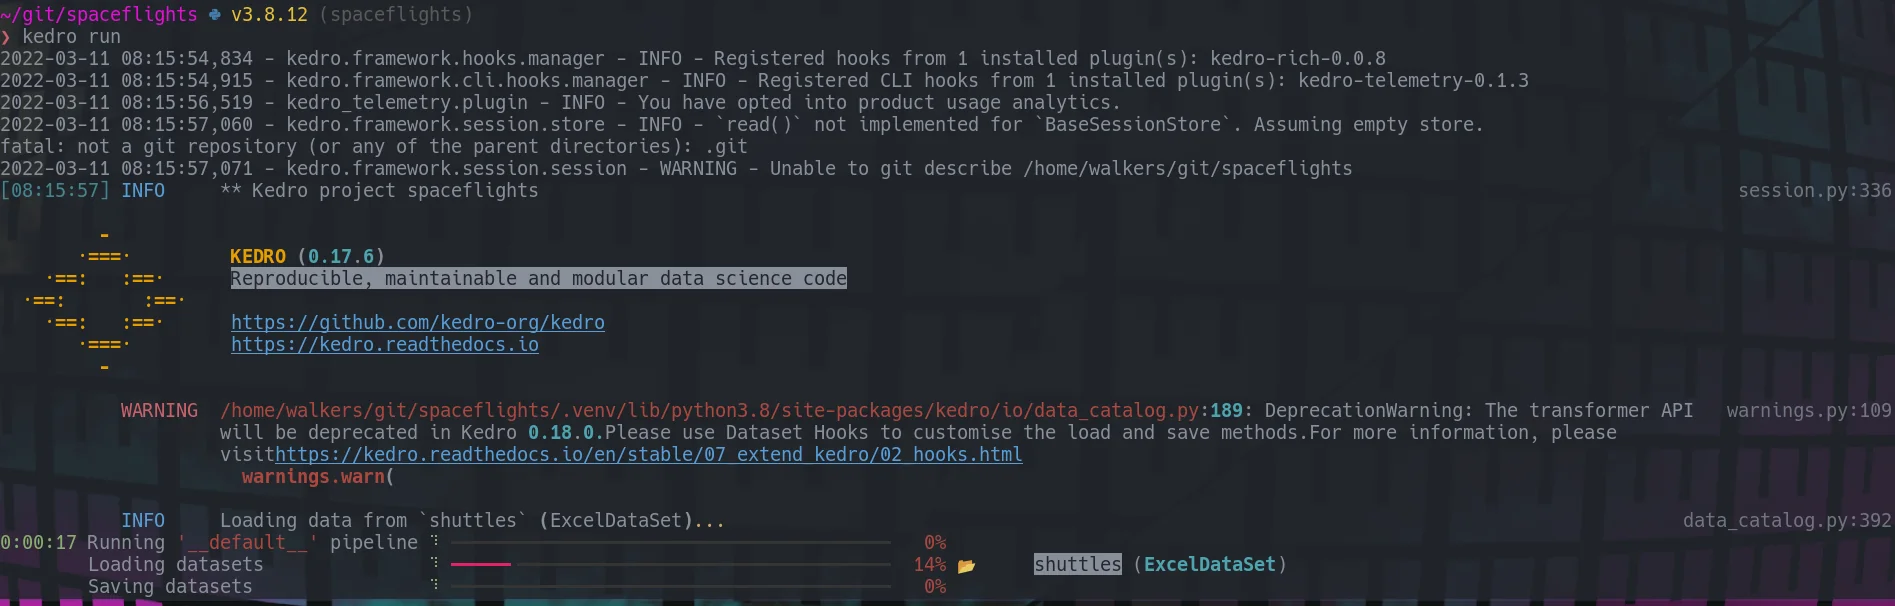
You can run your pipeline just as you normally would, except you get progress
bars and pretty prints.
kedro run
[4]
Kedro catalog # [5]
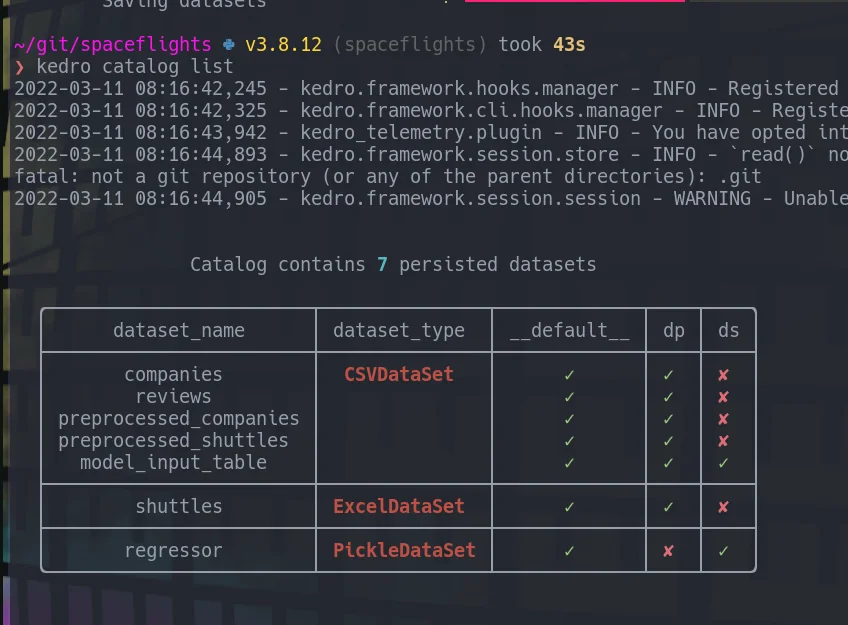
Listing out catalog entries from the command line now print out a nice pretty
table.
kedro catalog list
[6]
Give it a star # [7]
Go to the GitHub repo [8] and give it a
star, Joel deserves it.
References:
[1]: #install-kedro-rich
[2]: /glossary/git/
[3]: #kedro-run
[4]: https://images.waylonwalker.com/kedro-rich-run.png
[5]: #kedro-catalog
[6]: https://images.waylonwalker.com/kedro-rich-catalog-list.png
[7]: #give-it-a-star
[8]: https://github.com/datajoely/kedro-rich
I recently found a really great plugin [1] by
mhinz [2] to open files in neovim from a
different tmux split, without touching neovim at all.
Installation # [3]
neovim-remote [1] is not a neovim
plugin at all, it’s a python cli that you can install with pip. Unlike
the repo suggests, I use pipx to install nvr.
pipx install neovim-remote
How I use it # [4]
I have this added to my .envrc that is in every one of my projects.
This will tie a neovim session to that directory, and all directories
under it.
export NVIM_LISTEN_ADDRESS=/tmp/nvim-$(basename $PWD)
In my workflow I open a tmux session for each project, so this
essentially ties a neovim session to a tmux session.
Open neovim # [5]
First open neovim, but with the nvr command. This will open neovim,
and look pretty much the same as always.
nvr
If you try to run nvr again in another shell nothing will happen as
its already runnin under that address, but if you give it a filename it
will open the file in the first instance of neovim that you opened.
nvr readme.md
Links # [6]
- GitHub [1]
References:
[1]: https://github.com/mhinz/neovim-remote
[2]: https://github.com/mhinz
[3]: #installation
[4]: #how-i-use-it
[5]: #op...
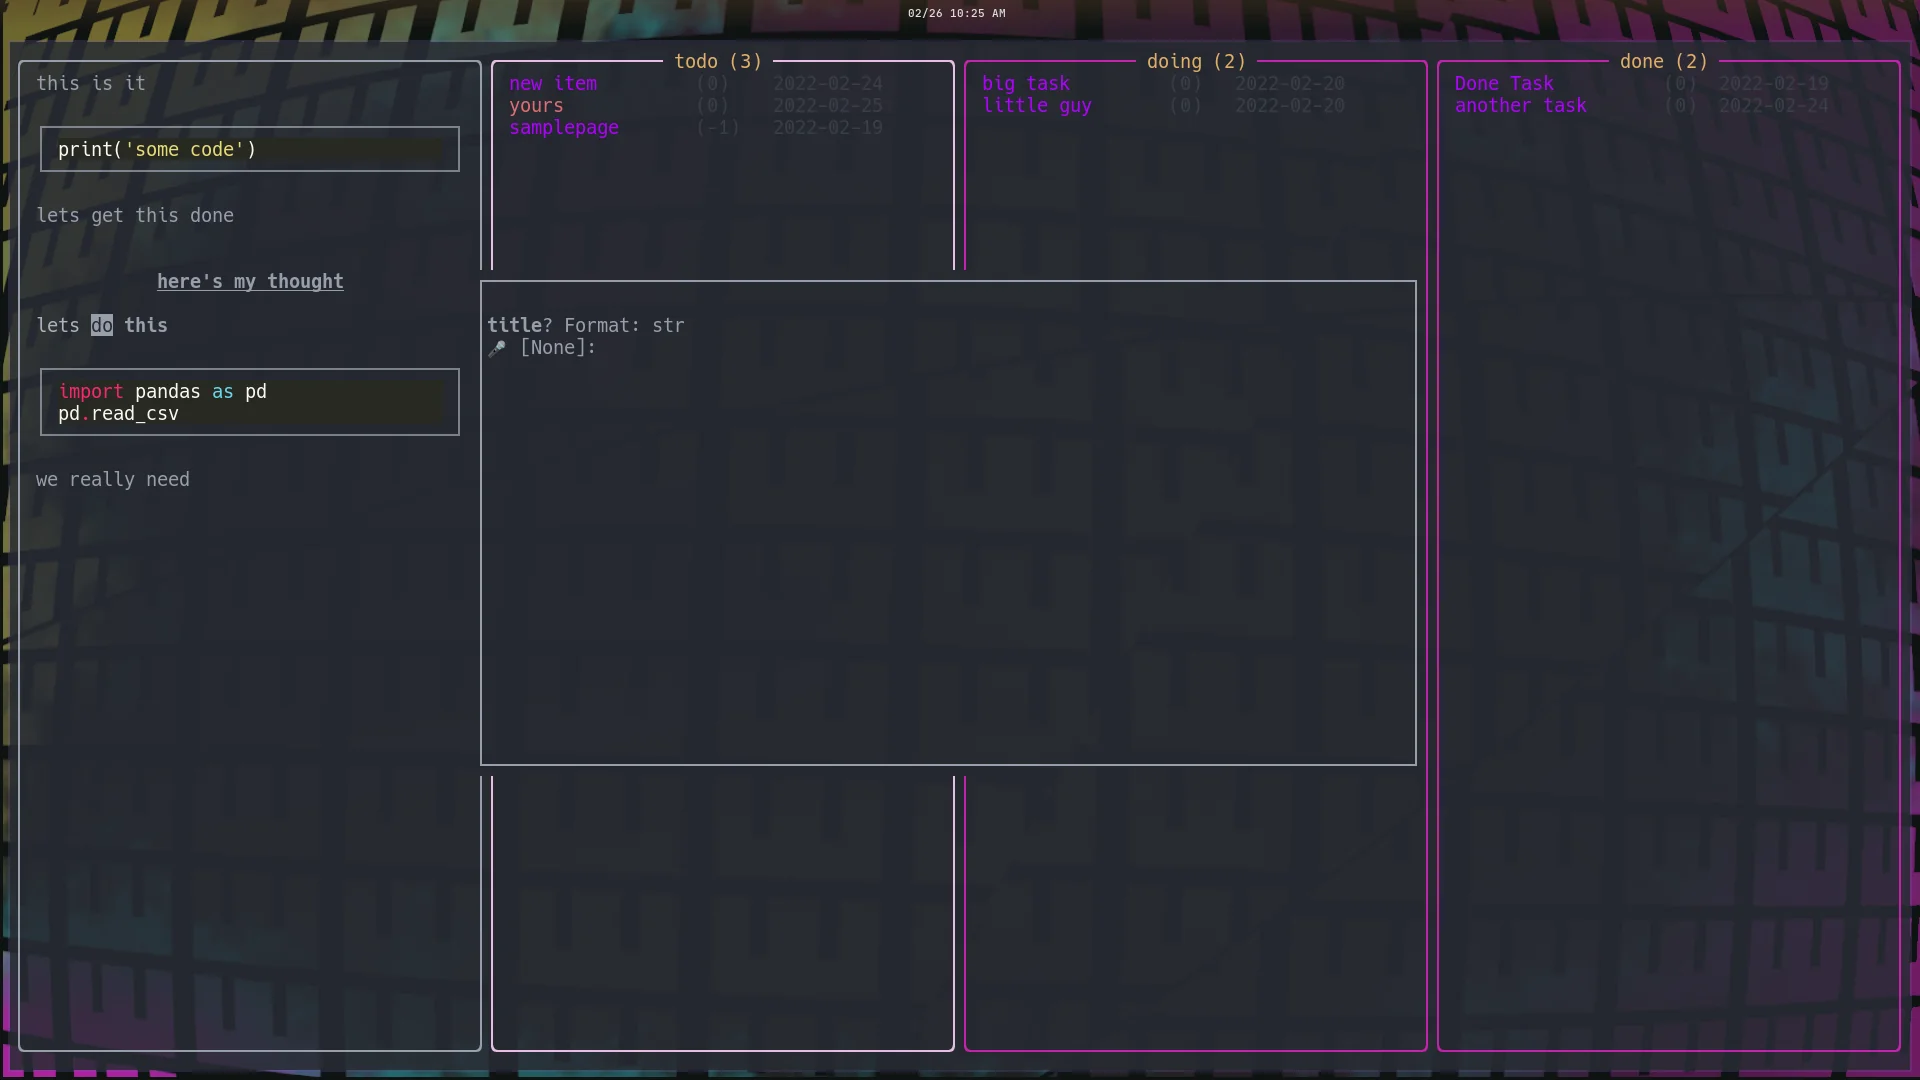
As I am toying around with textual, I am wanting some popup user input
to take over. Textual is still pretty new and likely to change quite
significantly, so I don’t want to overdo the work I put into it, So for
now on my personal tuis I am going to shell out to tmux.
The Problem # [1]
The main issue is that when you are in a textual app, it kinda owns the
input. So if you try to run another python function that calls for
input it just cant get there. There is a
textual-inputs [2] library
that covers this, and it might work really well for some use cases, but
many of my use cases have been for things that are pre-built like
copier, and I am trying to throw something together quick.
textual is still very beta
Part of this comes down to the fact that textual is still very beta and
likely to change a lot, so all of the work I have done with it is for
quick and dirty, or fun side projects.
The Solution # [3]
So the solution that was easiest for me… shell out to a tmux popup.
The application I am working on wants to create new documents using
copier templates. copier has a fantastic cli that walks throught he
template variables and asks the user to fill them in, so I just shell...
Mermaid diagrams provide a way to display graphs defined as plain text.
Some markdown renderers support this as a plugin. GitHub now supports
it.
example # [1]
You can define nodes like this in mermaid, and GitHub will now render
them as a pretty graph diagram. Its rendered in svg, so its searchable
with control f and everything.
graph TD;
A-->B;
A-->C;
B-->D;
C-->D-->OUT;
E-->F-->G-->OUT
[2]
Links # [3]
- GitHub support announcement [4]
- mermaid docs [5]
import mermaid from '/assets/vendor/mermaid/mermaid.esm.min.mjs';
const rootStyle = getComputedStyle(document.documentElement);
const css = (name, fallback) => (rootStyle.getPropertyValue(name) || fallback).trim();
const isDark = window.matchMedia('(prefers-color-scheme: dark)').matches ||
document.documentElement.dataset.theme === 'dark';
const accent = css('--color-primary', '#ffcd11');
const flowchart = {
nodeSpacing: 60,
rankSpacing: 90,
padding: 12,
};
const themeCSS = `
.label foreignObject > div { padding: 14px 14px 10px; line-height: 1.2; }
.nodeLabel { padding: 14px 14px 10px; line-height: 1.2; }
* { cursor: pointer; }
`;
const themeVariables = {
background: css('--color-background', '#...
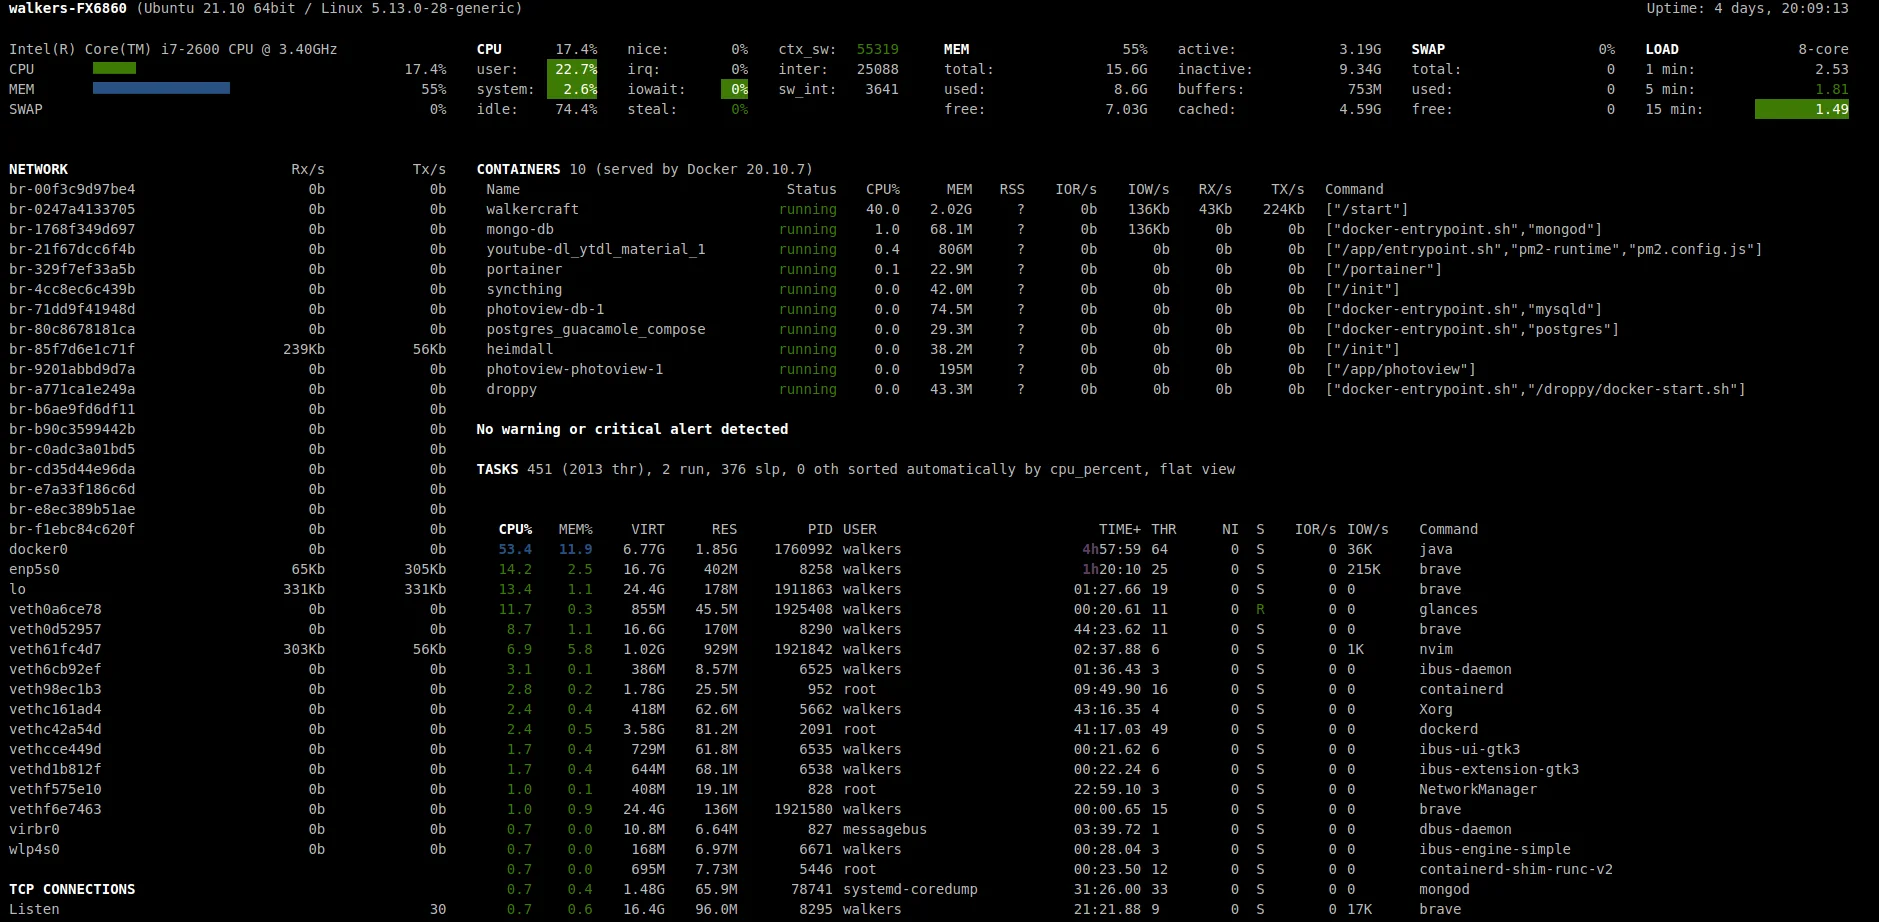
Glances is a system monitor with a ton of features, including docker processes.
I have started using portainer to look at running docker processes, its a great
heavy-weight docker process monitor. glances works as a great lightweight
monitor to just give you the essentials, ( Name, Status, CPU%, MEM, /MAX,
IOR/s, IOW/s, Rx/s, Tx/s, Command)
install # [1]
You will need to install glances to use the glances webui. We can still use
pipx to manage our virtual environment [2] for us so that we do not need to do so
manually or run the risk of globally installed package dependency hell.
pipx install glances
pipx inject glances "glances[docker]"
You will be presented with this success message.
injected package glances into venv glances
done! ✨ 🌟 ✨
results # [3]
Now running glances will also show information about your running docker
containers.
[4]
Links # [5]
- glances docker [6]
- pipx [7]
- website [8]
- docs [9]
- github [10]
References:
[1]: #install
[2]: /virtual-environment/
[3]: #results
[4]: https://images.waylonwalker.com/glances-docker.png
[5]: #links
[6]: https://glances.readthedocs.io/en/catest/docker.html
[7]: https://pipx.pypa.io/stable/
[8]: https://nicol...
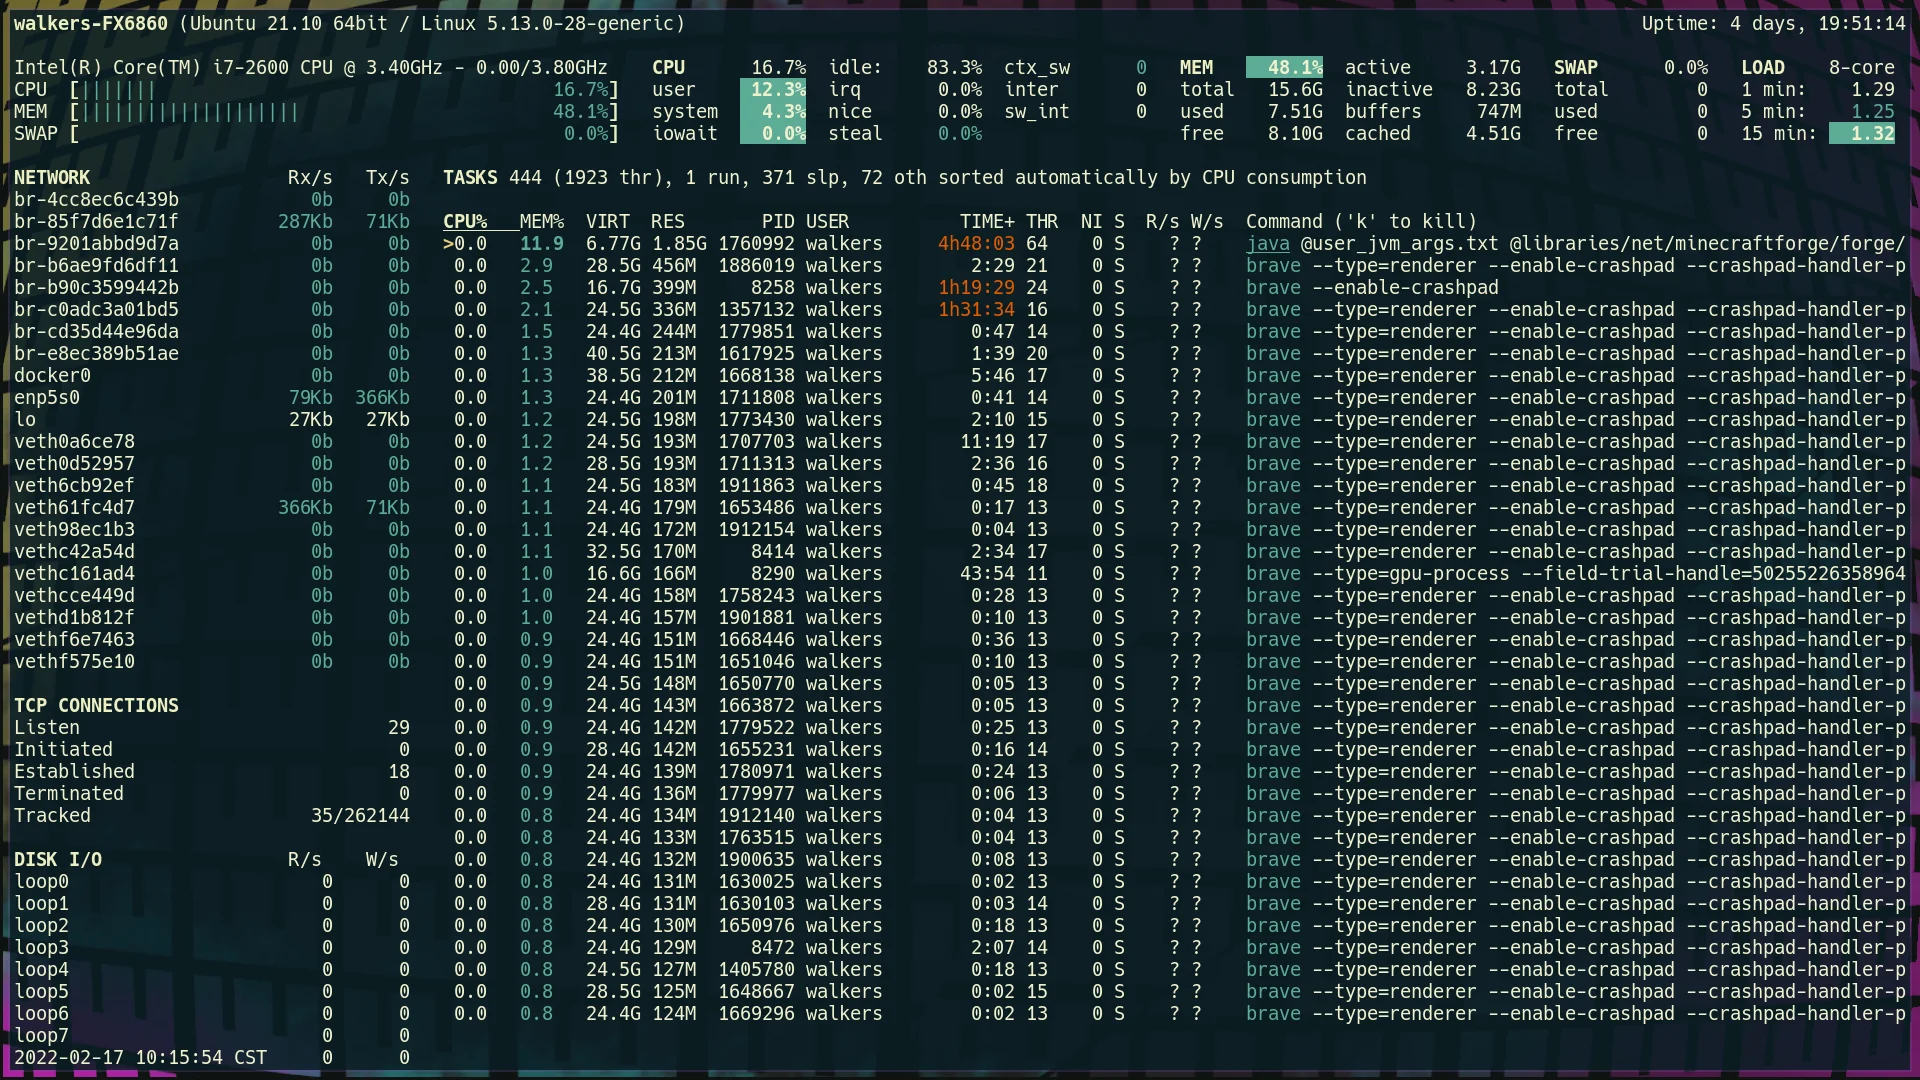
Glances has a pretty incredible webui to view system processes and information
like htop, or task manager for windows.
The nice thing about the webui is that it can be accessed from a remote system.
This would be super nice on something like a raspberry pi, or a vm running in
the cloud. Its also less intimidating and easier to search if you are not a
terminal junky.
install # [1]
You will need to install glances to use the glances webui. We can still use
pipx to manage our virtual environment [2] for us so that we do not need to do so
manually or run the risk of globally installed package dependency hell.
pipx install glances
pipx inject glances "glances[web]"
You will be presented with this success message.
injected package glances into venv glances
done! ✨ 🌟 ✨
running the webui # [3]
Now that you have glances installed you can run it with the -w flag to run
the webui.
glances -w
This will present you with the following success message.
Glances Web User Interface started on http://0.0.0.0:61208/
Open it in your browser # [4]
Now that its running you can open your web browser to localhost:61208 and be
presented with the glances webui.
[5]
Links # [6]
- pipx [7]
- ...
Glances is a fully featured system monitoring tool written in python. Out of
the box it’s quite similar to htop, but has quite a few more features, and can
be ran without installing anything other than pipx, which you should already
have installed if you do anything with python.
pipx run glances
Once you run this you will be in a tui application similar to htop. You can
kill processes with k, use left and right arrows to change the sorting column,
and up and down to select different processes.
[1]
Links # [2]
- pipx [3]
- website [4]
- docs [5]
- github [6]
References:
[1]: https://images.waylonwalker.com/pipx-run-glances.png
[2]: #links
[3]: https://pipx.pypa.io/stable/
[4]: https://nicolargo.github.io/glances/
[5]: https://glances.readthedocs.io/en/latest/index.html
[6]: https://github.com/nicolargo/glances
python requirements text files can in fact depend on each other due to
the fact that you can pass pip install arguments right into your
requirements.txt file. The trick is to just prefix the file with a
-r flag, just like you would if you were installing it with pip install
try it out # [1]
Lets create two requirements files in a new directory to play with.
mkdir requirements-nest
cd requirements-nest
touch requirements.txt requirements_dev.txt
Then add the following to each requirements file.
# requirements.txt
kedro[pandas.ParquetDataSet]
# requirements_dev.txt
-r requirements.txt
ipython
Installing # [2]
Installing requirements_dev.txt will install both ipython and pandas
since it includes the base requirements file.
# this will install only pandas
pip install -r requirements.txt
# this will install both ipython and pandas
pip install -r requirements_dev.txt
Links # [3]
This is covered in the
pip user guide [4],
but it is not obvious that this can be done in a requirements.txt
file.
References:
[1]: #try-it-out
[2]: #installing
[3]: #links
[4]: https://pip.pypa.io/en/stable/user_guide/
Reading eventbridge rules from the command line can be a total drag, pipe it
into visidata to make it a breeze.
I just love when I start thinking through how to parse a bunch of json at the
command line, maybe building out my own custom cli, then the solution is as
simple as piping it into visidata. Which is a fantastic tui application that
had a ton of vim-like keybindings and data features.
alias awsevents = aws events list-rules | visidata -f json