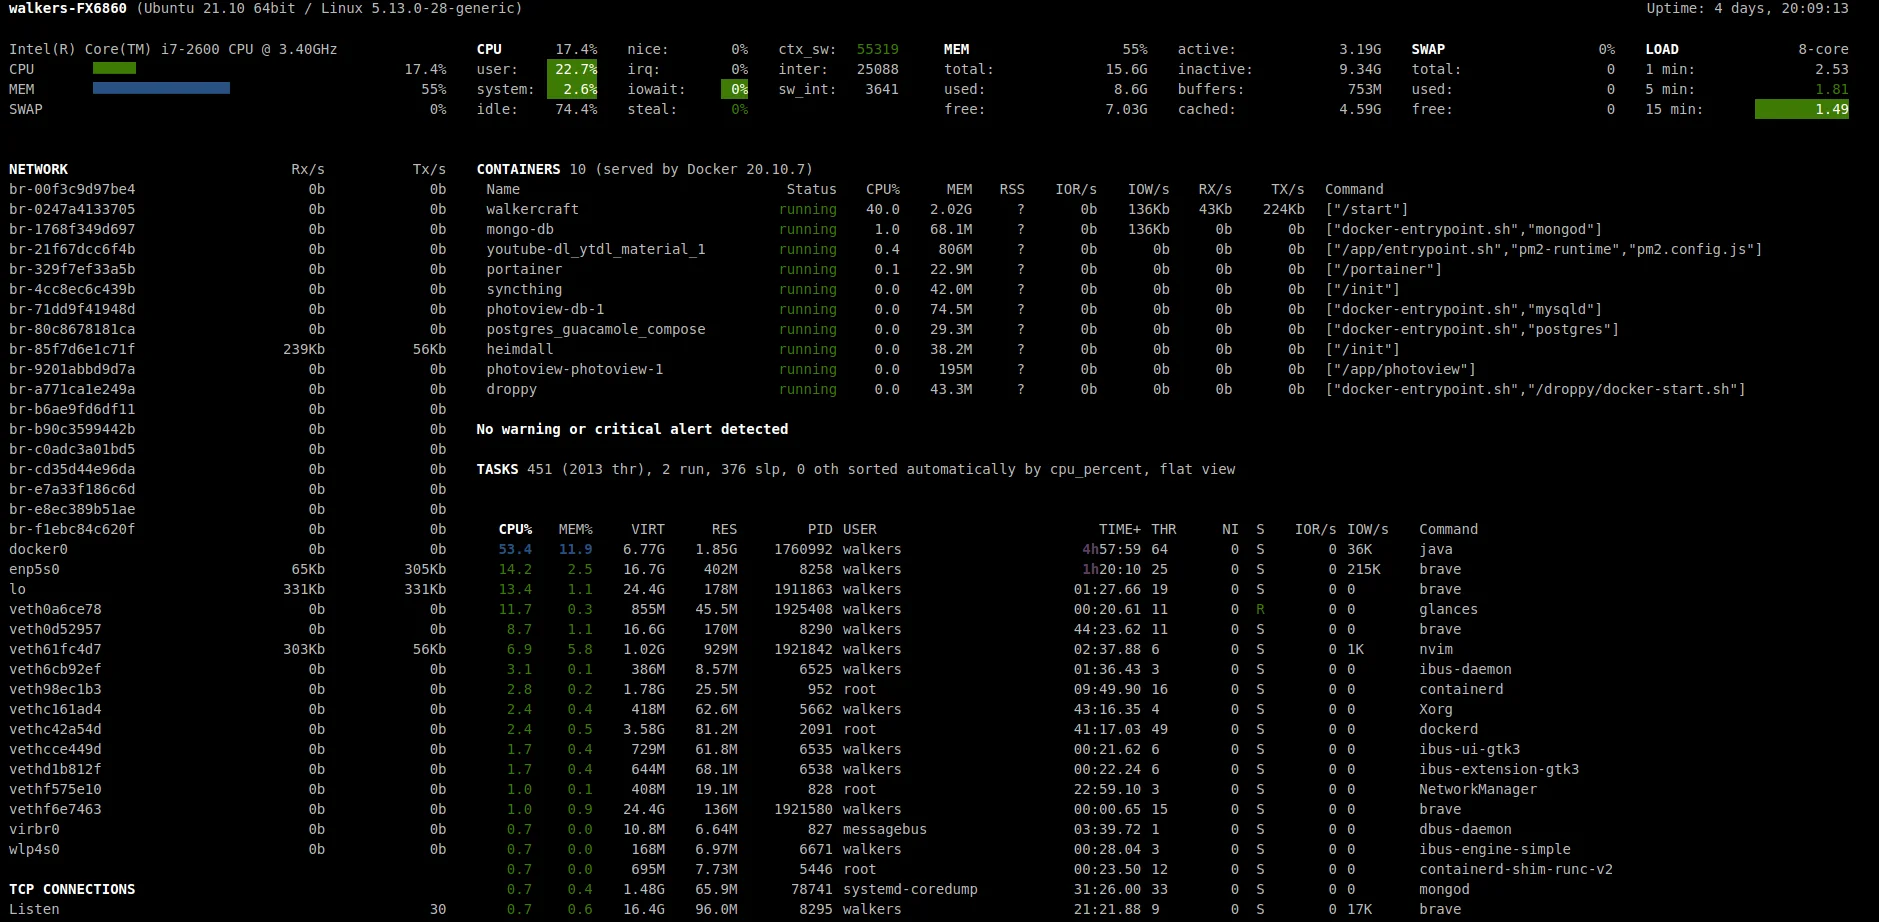
I write many of these posts from a 10 year old desktop that sits in my office these days. It does a very fine job running all of the things I need it to for my side work, but sometimes I want a mobile setup. I don’t really want to spend the $$ on a new laptop just for the few times I want to be somewhere else in the house. What I do have though is a chromebook.
I’ve tried to get the chromebook into my workflow in the past, but have failed. Much because by the time I got all of my tools up and running in the linux vm it was taking up quite a bit of space on the device and made it harder for others to use as a chromebook.
Today I am giving it a second try, but this time with ssh.
Checking for existing sshd #
Before doing anything I checked to see if sshd is already running. Using the following command.
sudo service ssh status
# or
pgrep -l sshd
Both returned nothing so I know that its not running.
setting up sshd #
just apt install it
Next install the openssh-client and openssh-server
sudo apt install openssh-client -y
sudo apt install openssh-server -y
After this I can see that its now running by checking its status once again.
sudo service ssh status
Gives me the result.
● ssh.service - OpenBSD Secure Shell server
     Loaded: loaded (/lib/systemd/system/ssh.service; enabled; vendor preset: enabled)
     Active: active (running) since Tue 2022-03-08 08:17:05 CST; 12min ago
       Docs: man:sshd(8)
             man:sshd_config(5)
    Process: 181185 ExecStartPre=/usr/sbin/sshd -t (code=exited, status=0/SUCCESS)
   Main PID: 181189 (sshd)
      Tasks: 1 (limit: 19119)
     Memory: 2.8M
        CPU: 96ms
     CGroup: /system.slice/ssh.service
             └─181189 sshd: /usr/sbin/sshd -D [listener] 0 of 10-100 startups
Accessing the desktop #
I have already enabled the Linux terminal on my chromebook, so I just opened the terminal, and ran the following.
ssh <username>@<ip-address>
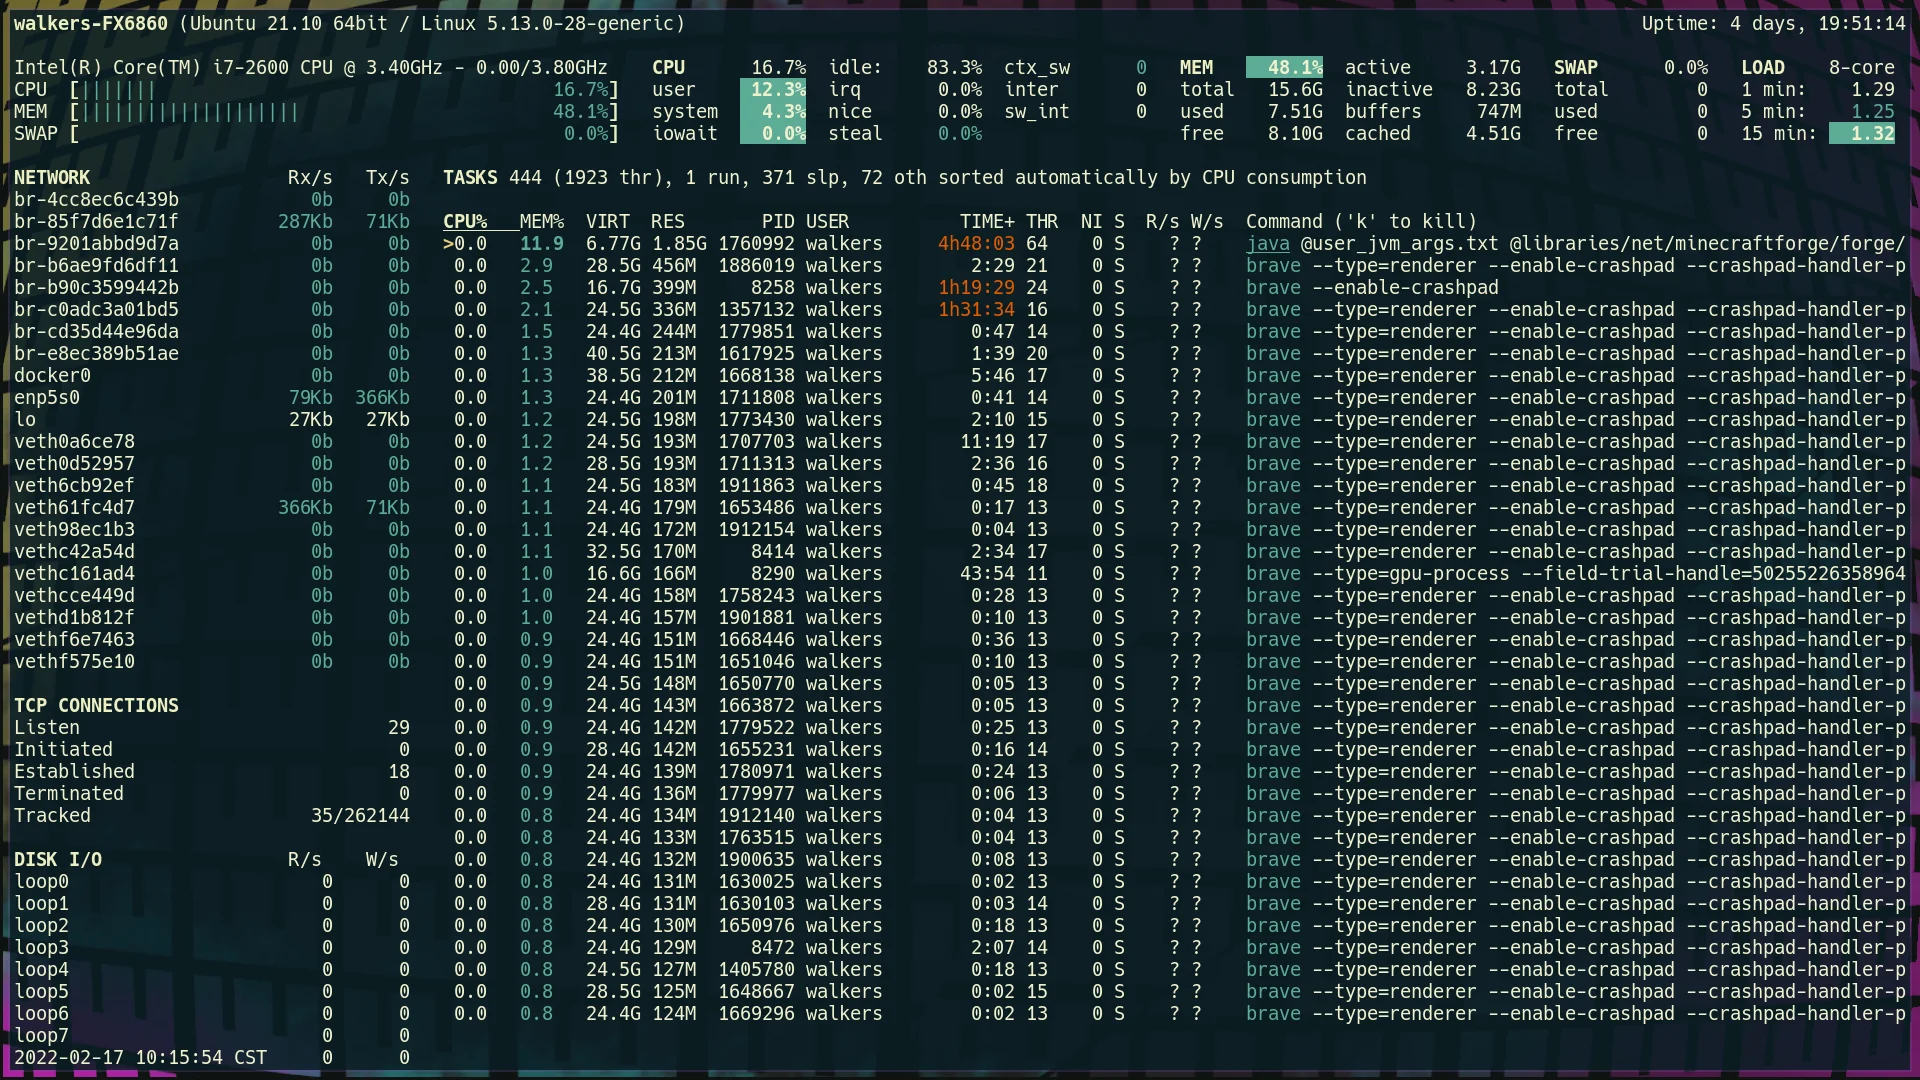
It prompted for my password and I was in. I had all of my vim, tmux, and zsh comforts that I enjoy without installing anything. It worked so well that this whole post was written from my chromebook.
Limitations #
This does limit me to being on the same network as my desktop, which these days is almost always true.
ssh keys #
Out of the box I am just using passwords to get in, but if this were public I would lock down to requiring an ssh key to enter. I’ll likey do this in a future post.